You now know why converting your lettering to outlines is essential before sending your files for sign letter cutting or wall logos. If not, check out our article What does "converting text to outlines" mean and what is it for?
But how is it done concretely?
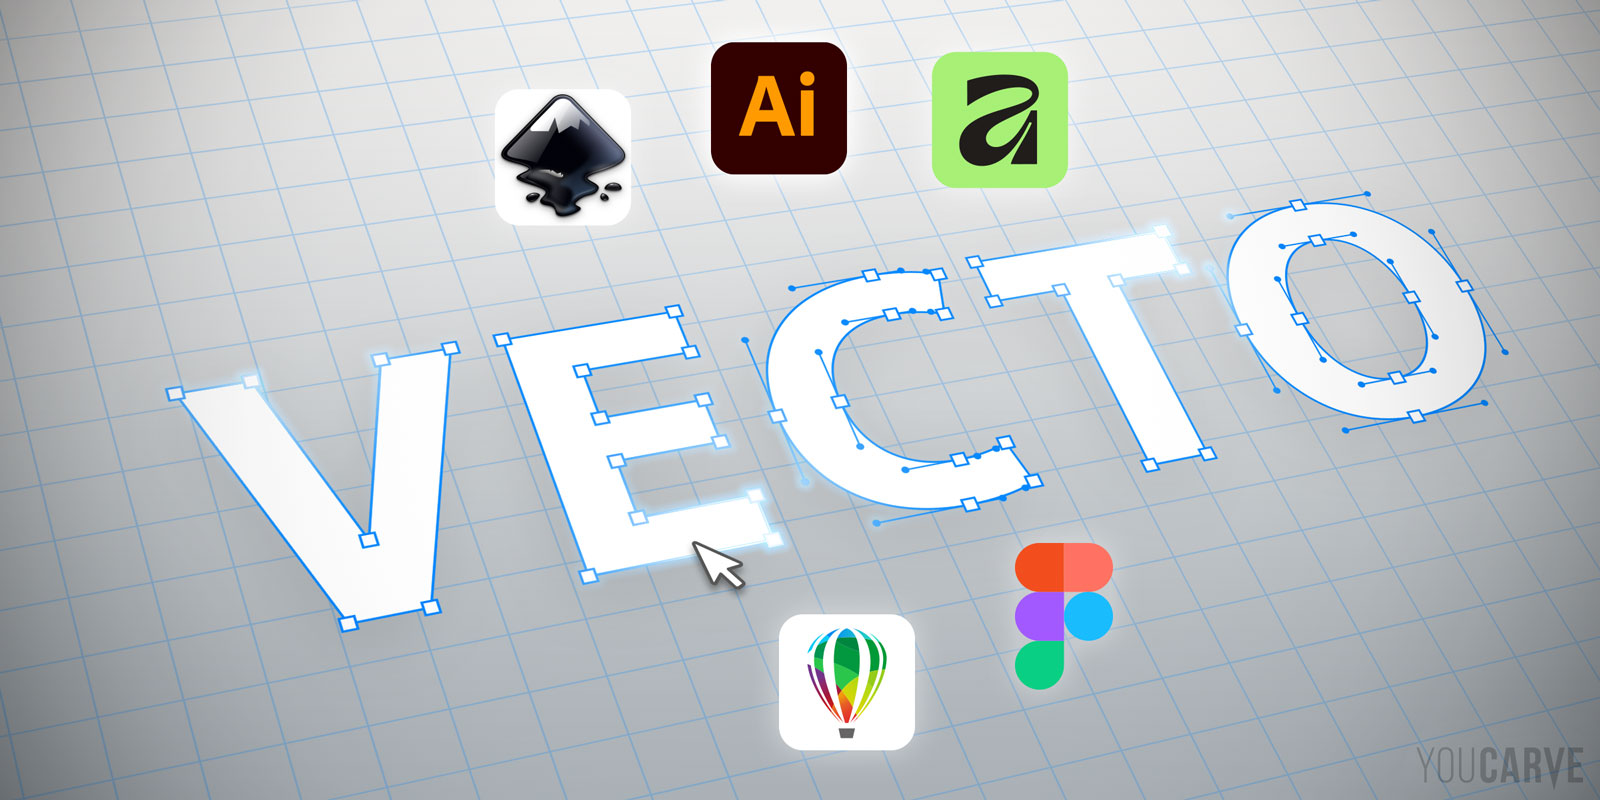
This practical guide shows you the exact procedure, step by step, to transform your editable text into vector paths in the 5 most common vector graphic design software: Adobe Illustrator, Inkscape, Affinity (by Canva), CorelDRAW, and Figma.
Advice before converting text to outlines
Once converted to curves/outlines, your text will no longer be editable, meaning you will no longer be able to modify its content or change its font or style.
Best practice: always keep an editable version of your file before outlining your lettering. A simple method is to keep 2 versions of your project with explicit suffixes: my-file_source.ai for the editable version, and my-file_vect.ai for the outlined version. This precaution will allow you, if necessary, to make subsequent corrections or changes to your project without having to recreate everything from scratch.
Converting text to outlines in Adobe Illustrator
How to convert text to outlines in Illustrator?
1 - Select your text with the Selection tool (black arrow, V)
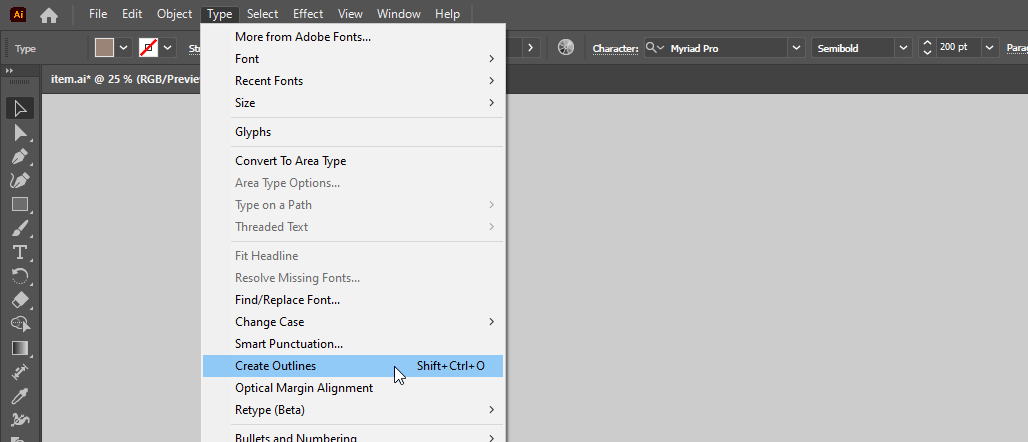
2 - Go to the menu bar (at the top): Type > Create Outlines
Or use the keyboard shortcut:
Ctrl + Shift + O (on Windows) / Cmd + Shift + O (on Mac)
(with the letter "O" for "Outline")
How to know in Illustrator if text is outlined?
Here are two quick and reliable methods to distinguish editable text from outlined text in Illustrator:
1 - The appearance of the selection
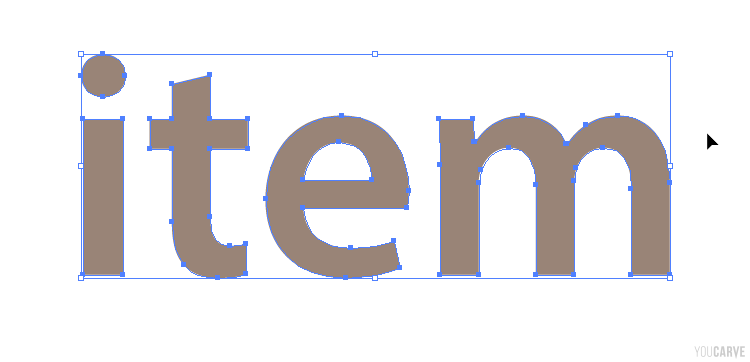
Select the lettering, if the text has been converted to outlines you will be able to see the paths of the letters and their anchor points (nodes).
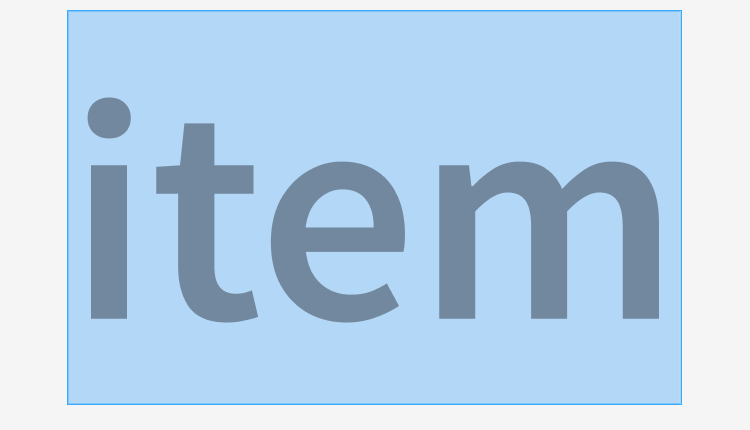
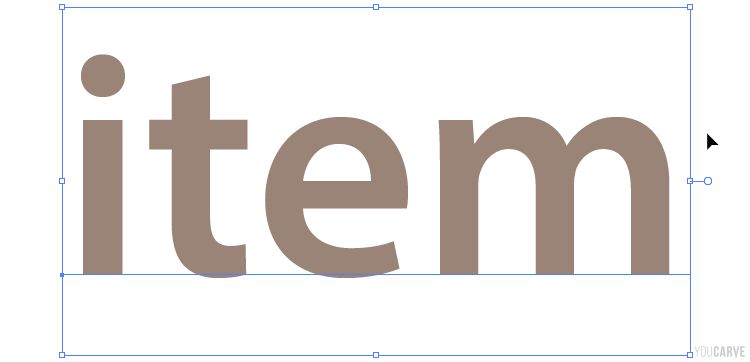
Note: when you select editable text in Illustrator with the Selection tool (black arrow), the selection box that appears takes into account the total height of the font body, which is larger than the height of the letters. Conversely for outlined text, the selection box fits exactly to the contours of the letters, without any margin.
2 - Visualization in Outline mode
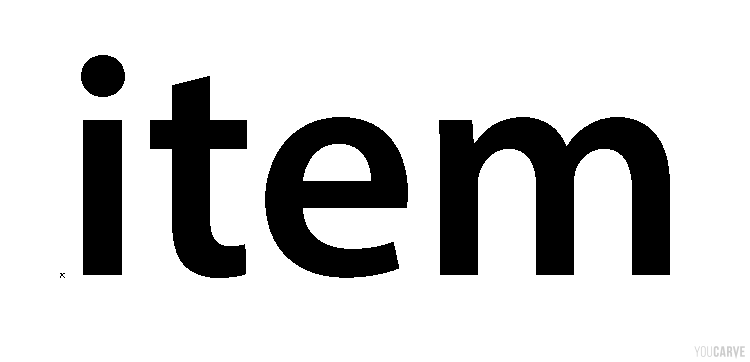
Switch the display to Outline mode: menu View > Outline (shortcut Ctrl + Y on Windows, Cmd + Y on Mac)
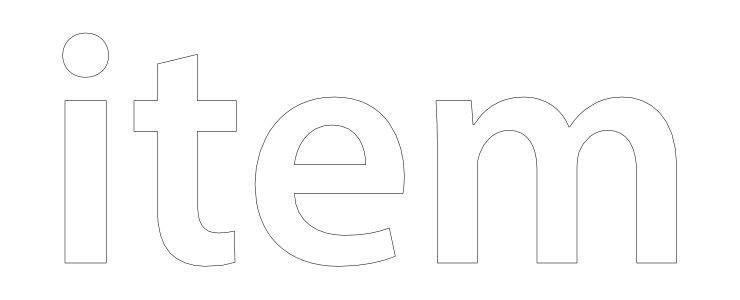
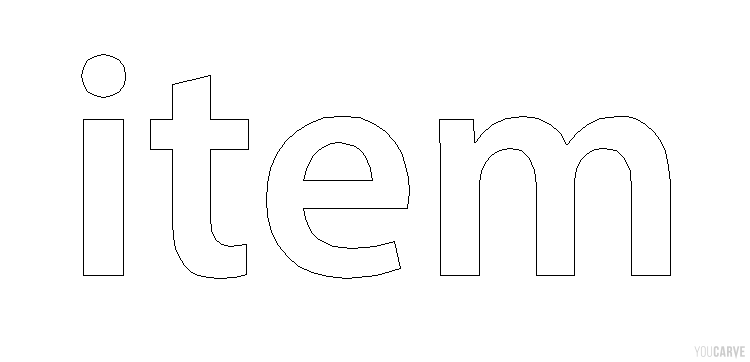
In this mode, only the paths of objects are displayed: editable texts appear in solid black while paths (and therefore outlined text) appear only with "wireframe" outlines:
How to convert all text to outlines in an Illustrator document at once?
Before launching the global conversion, make sure no text is forgotten. To do this, we will start with the following precautions:
-
Unlock all layers
Open the Layers palette, check that no layer has a padlock icon to the left of its name. If so, click on each padlock to unlock the layer.
-
Unlock all objects
Menu Object > Unlock All (shortcut Ctrl + Alt + 2 on Windows, Cmd + Option + 2 on Mac)
Indeed, we sometimes forget temporarily locked texts, which remain visible but escape the process.
-
Show all hidden objects
Menu Object > Show All (shortcut Ctrl + Alt + 3 on Windows, Cmd + Option + 3 on Mac)
Here again, temporarily hidden objects can go unnoticed and not be outlined.
-
Apply a global text outlining:
Select all objects: menu Select > All (shortcut Ctrl + A on Windows, Cmd + A on Mac)
Apply the command: menu Type > Create Outlines (shortcut Ctrl + Shift + O on Windows, Cmd + Shift + O on Mac)
Note: the Create Outlines command will only apply to text objects, other elements will not be affected.
How to check that there is no more editable text in an Illustrator document?
The simplest technique is to search for fonts used by the document:
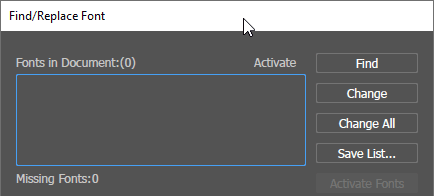
Menu Type > Find/Replace Font…
If the result is empty, it means there is no more editable text in your document.
However, if a font appears in the list, it is either that a text object has not been unlocked, or that it has been hidden. It can also be an "empty" text (text object in which no character has been typed). In the latter case, the cleanup command will allow you to solve the problem: menu Object > Path > Clean Up…, check Empty Text Paths and click OK
Converting text to curves in Affinity (by Canva)

How to convert text to curves in Affinity?
Select your text using the Move Tool, then execute the conversion with one of the following 3 methods:
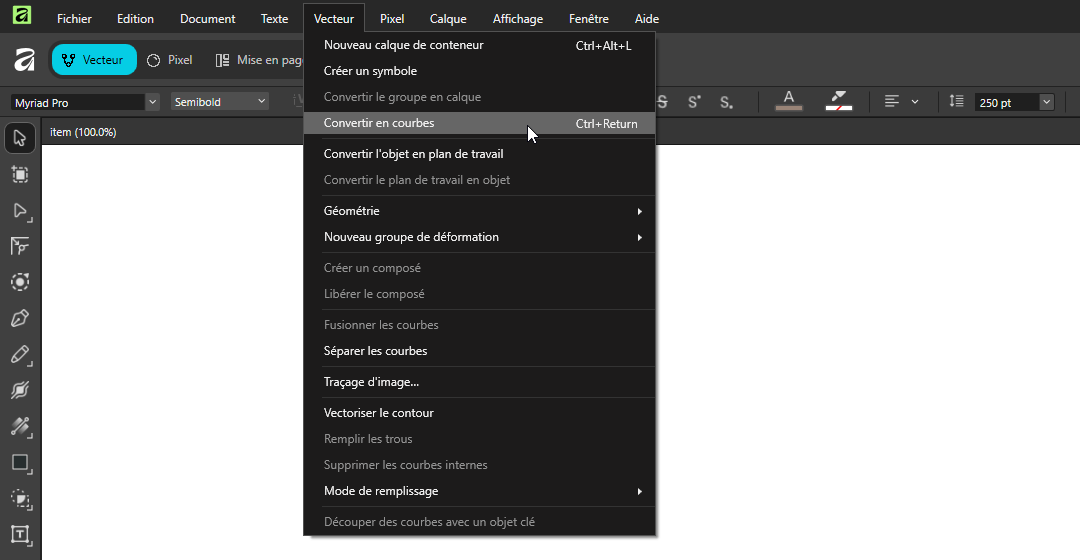
Menu Layer > Convert to Curves
or
Right click on the text > [context menu] > Convert to Curves
or
Keyboard shortcut: Ctrl + Enter (on Windows) / Cmd + Enter (on Mac)
How to know if text is converted to curves in Affinity?
Unlike Illustrator, there are few clues that allow you to visually distinguish editable text vs vector text in Affinity.
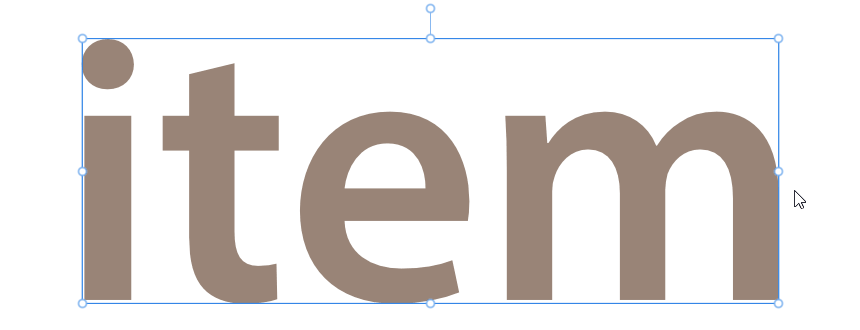
First of all, the selection preview does not change before/after conversion, because an object selected with the standard selection tool does not show the outlines and anchor points (nodes) of the paths.
Next, the selection outline for editable text in Affinity adjusts precisely to the letters (it does not take into account the font body size like in Illustrator). One could consider this rather as an asset in terms of design and dimensioning of a lettering, however it does not allow you to distinguish editable text just by selecting it.
Finally in Affinity there is no "outline" (wireframe) mode display, unlike Illustrator.
But there are obviously other ways in Affinity to determine if a text is editable or converted to curves:
1 - The icon in the Layers palette
The most reliable solution to distinguish the nature of a lettering in Affinity is to select it and then examine the icon associated with it to the left of its line in the Layers palette:
“A” (Art Text) or boxed “T” (Frame Text) => means that the text is editable
“>” indicates a group of paths => means that the text is converted/vectorized
2 - The options displayed in the context toolbar
We also find a clue in the appearance of the context toolbar at the top (under the menus): if the text is editable, the bar will display text parameters (font, style, size…); if the text is converted (group of paths) it will display "Group" with aspect parameters for standard objects.
3 - Test with the Frame Text tool
If you activate the Frame Text tool (T) and hover over the lettering, the cursor will switch to edit mode (allowing you to modify the text), whereas on converted text (i.e. paths) the cursor will offer to create the starting point of a new editable text.
4 - Test with the Node tool
Finally, you can consider testing the lettering by clicking on it with the Node tool (A): for editable text the outline of the lettering will be highlighted while for converted text you will see the nodes of the letter you clicked on appear.
However, you must remain cautious with this method because selection with the Node tool can sometimes display misleading results in certain contexts (for example on a selection encompassing editable text and converted text, Affinity sometimes displays the nodes of the editable lettering...)
Converting text to paths in Inkscape

How to convert text to paths in Inkscape?
1 - Select your text with the Selection tool
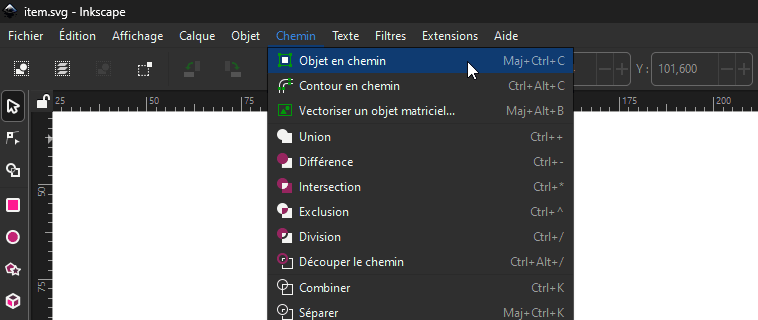
2 - Go to the menu bar (at the top): Path > Object to Path
Or use the keyboard shortcut: Ctrl + Shift + C (on Windows) / Cmd + Shift + C (on Mac)
How to know if text is converted in Inkscape?
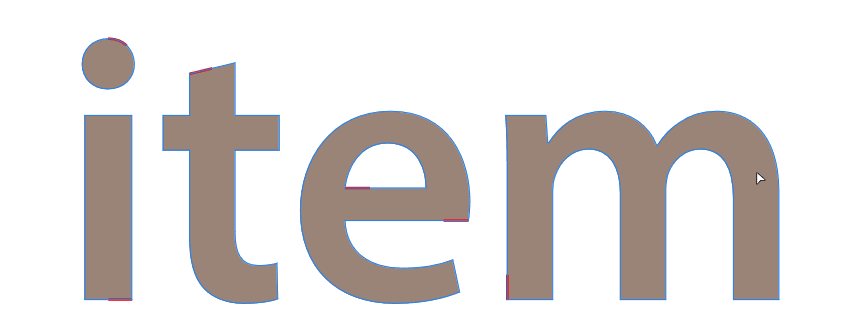
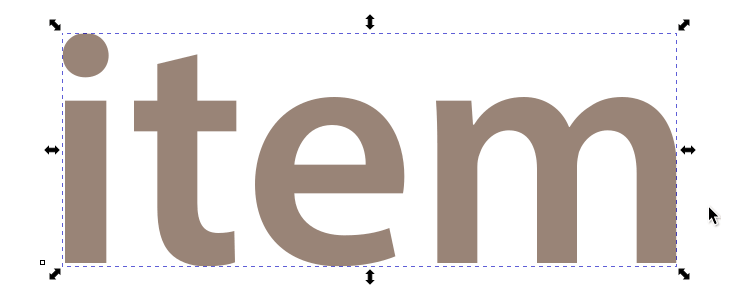
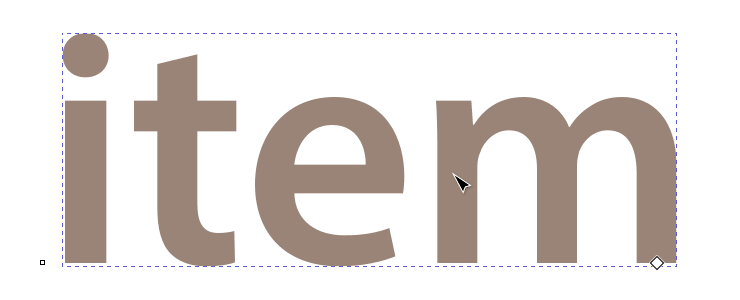
Like Affinity and unlike Illustrator, in Inkscape the selection preview is indistinguishable between editable text and text converted to paths: in both cases the selection outline fits precisely to the letters, and the standard selection tool does not show the outlines and anchor points (nodes).
However, here are three reliable methods to distinguish editable text from converted text in Inkscape:
1 - The icon in the Layers palette
Select your text and examine the icon associated with it to the left of its line in the Layers palette:
- The 'T' icon indicates editable text
- The icon representing 2 nodes + a tangent means that it is paths and therefore the text has been converted.
2 - Visualization in Outline mode
Like Illustrator, Inkscape has a display mode allowing you to view only the paths. To switch the display to Outline mode:
menu View > Display Mode > Outline
In this mode, editable texts appear in solid black while paths (and therefore converted text) appear only with "wireframe" outlines:
3 - Selection with the Node tool
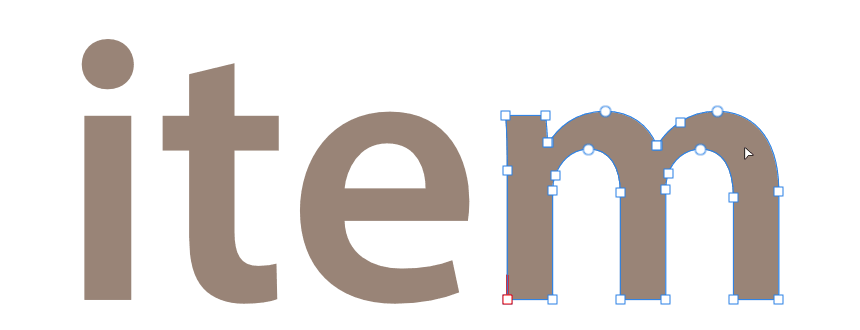
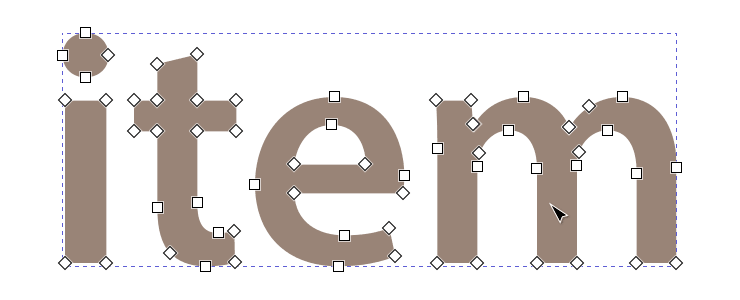
Select your lettering with the Node tool (N), if the text has been converted, all the nodes of the letter outlines will appear.
Converting text to curves in CorelDraw

How to convert text to curves in CorelDraw?
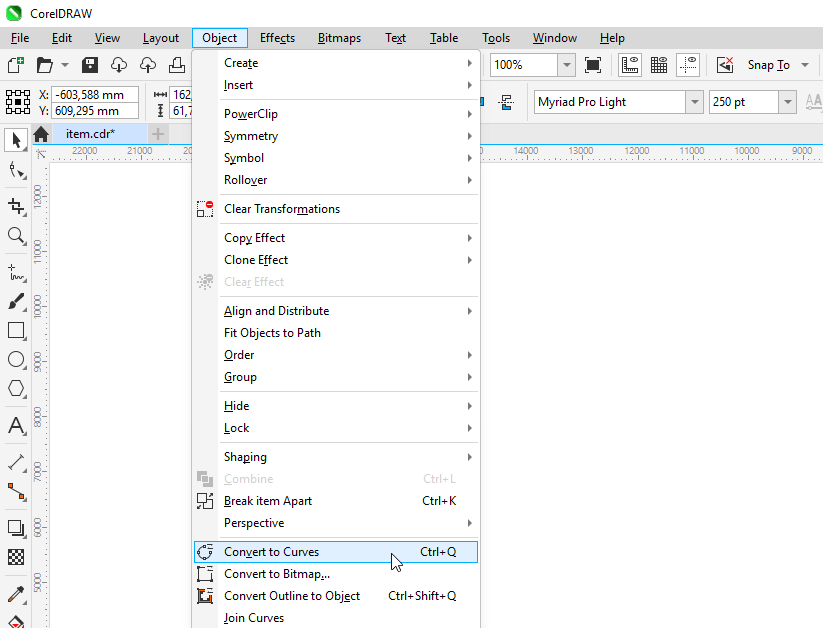
1 - Select your text with the Pick tool
2 - Go to the menu bar (at the top): Object > Convert to Curves
Or use the keyboard shortcut: Ctrl + Q (on Windows) / Cmd + Q (on Mac)
How to know if text is converted to curves in CorelDraw?
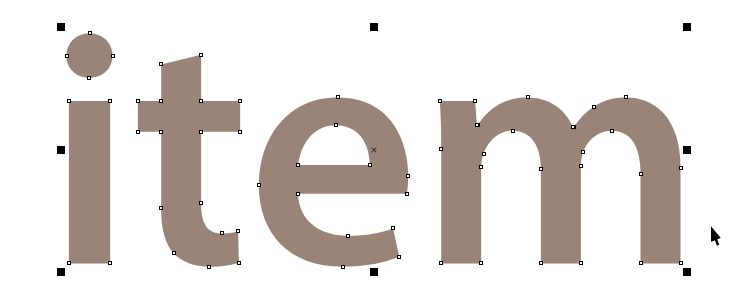
As seen above, selecting an editable text object in CorelDraw does not show anchor points, whereas once letters are converted to paths, nodes appear on their outlines.
In CorelDRAW, the Objects palette (equivalent to the Layers palette in other software) also indicates the nature of the selected object. Editable text is identifiable by a small "A" icon to the left of its name, which corresponds to the text content typed. Conversely, converted text (converted to curves) displays a thumbnail of itself as an icon and is named "Curve" by default.
Outline text (Outline stroke) in Figma

How to outline text in Figma?
Select your text using the Move tool (V) then execute the command with one of the following 3 methods:
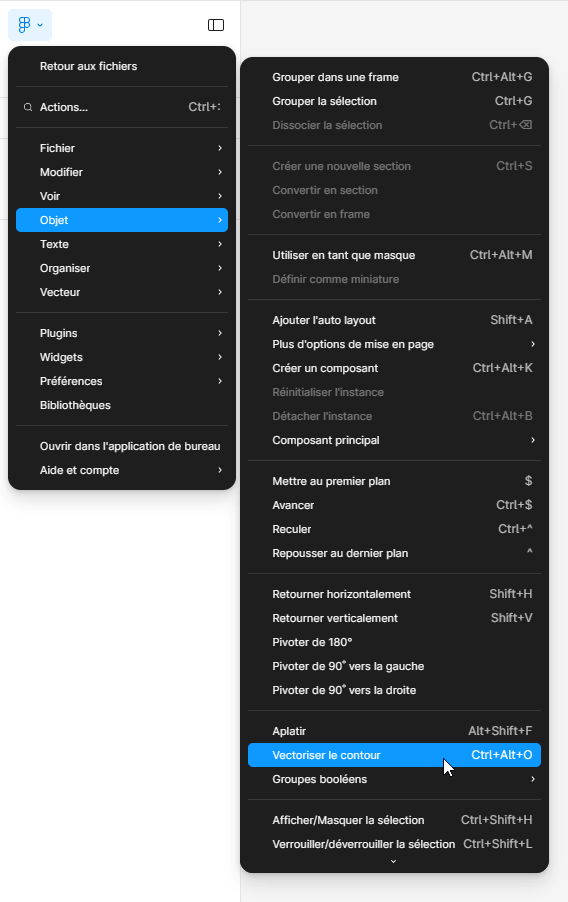
Figma Menu > Object > Outline stroke
or
Right click on the text > [context menu] > Outline stroke
or
Keyboard shortcut: Ctrl + Shift + O (on Windows) / Cmd + Shift + O (on Mac)
(with the letter "O" for "Outline")
How to know in Figma if text is outlined?
Here are three methods to distinguish editable text from outlined text in Figma:
1 - The appearance of the selection
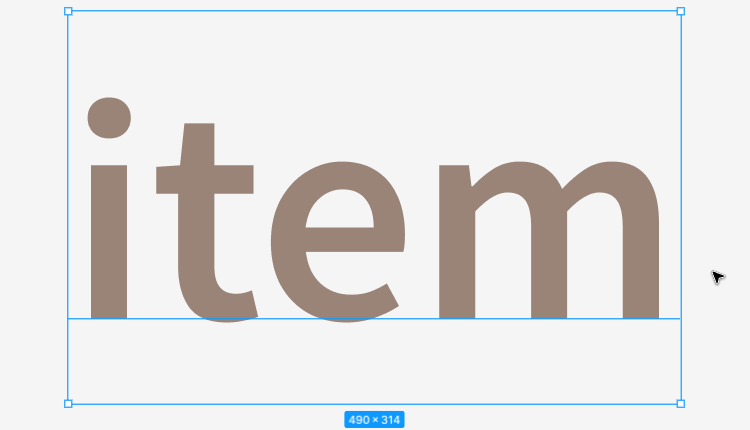
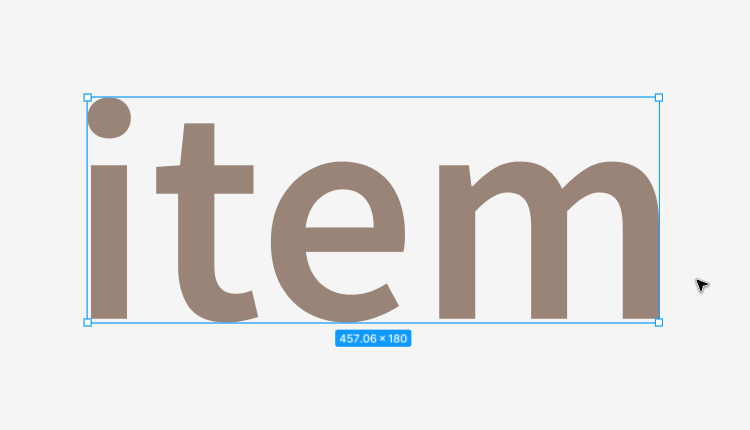
Note: when you select editable text in Figma (with the Move tool V) , the selection box that appears takes into account the total height of the font body, which is larger than the letters. Conversely for outlined text (transformed into paths), the selection box fits exactly to the contours of the letters, without any margin.
2 - Appearance in Edit mode
Select your lettering and switch to edit mode (shortcut Enter) :
- If it is editable lettering: a blue rectangle will appear overlaid on the entire height of its font body
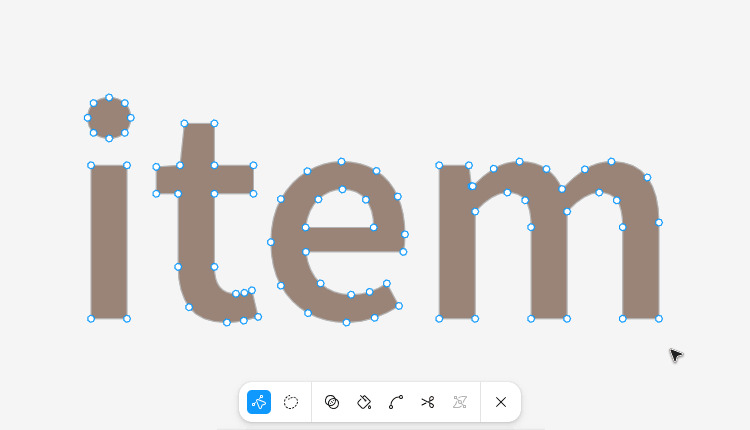
- If it is outlined lettering, the nodes of the paths will appear on the outlines of the letters and the path editing palette will appear at the bottom of the Figma window.
3 - The icon in the Layers palette
The selected object will not have the same icon in the Layers palette, depending on its nature. Select your lettering and examine the corresponding icon in the Layers palette:
- If it is editable text, a small "T" icon is assigned to it
- If it is outlined text (therefore paths), you will have either an icon representing a thumbnail of this path, or a dotted rectangle if the operation has generated a group combining the paths of each letter.
Conclusion
You now master converting text to outlines in the 5 main vector graphic design software and are able to verify that the conversion has been carried out correctly.
Do not forget the essential advice from the beginning: always keep an editable version of your file in case of future changes.
Now that your lettering is outlined, you just need to export your file in a vector format (SVG, AI, EPS or PDF), and you can then:
- For a request for custom cut letters: submit your file directly with your price request via our online form dedicated to custom cutting.
- For a custom laser engraving project: submit your project and your file via our Contact page to obtain a personalized quote.
Our team will be happy to turn your vectorized design into reality!



.png)
.png)
.png)

