_1920x960.jpg)
Installing sign letters on a facade is simpler than it seems. Thanks to the clip-on stand-off fixing system, you'll achieve a professional look with a slight gap from the wall that creates an elegant relief effect. This system combines aesthetics with ease of installation, while ensuring a solid and removable fixing. This guide explains step-by-step how to mount your letters to get a perfectly aligned result, whether it's a logo, a shop name, or a wall decoration.
What equipment is needed to mount your letters on stand-offs?
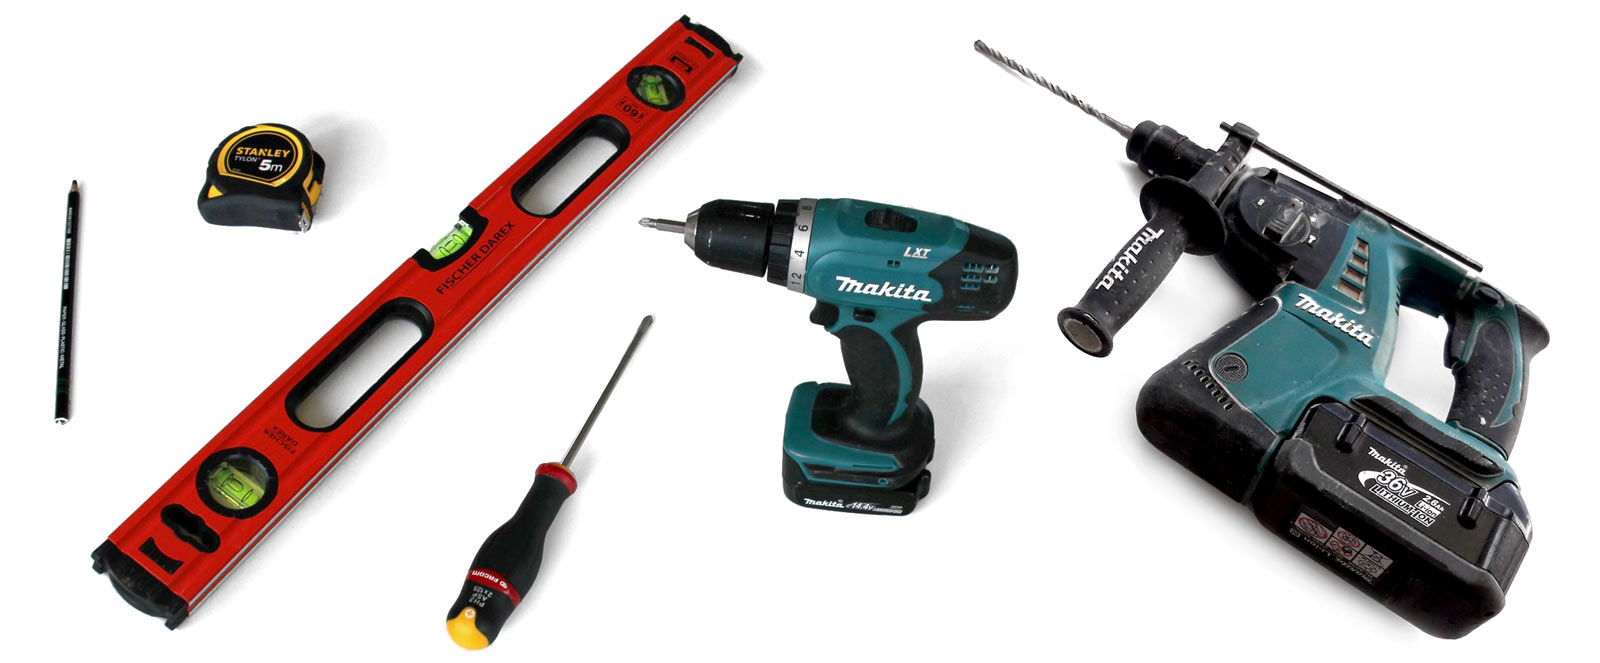
Before starting, make sure you have the following equipment:
- A spirit level
- A tape measure
- A pencil
- A screwdriver/driver
- A Phillips screwdriver
- A drill with a bit suited to the material
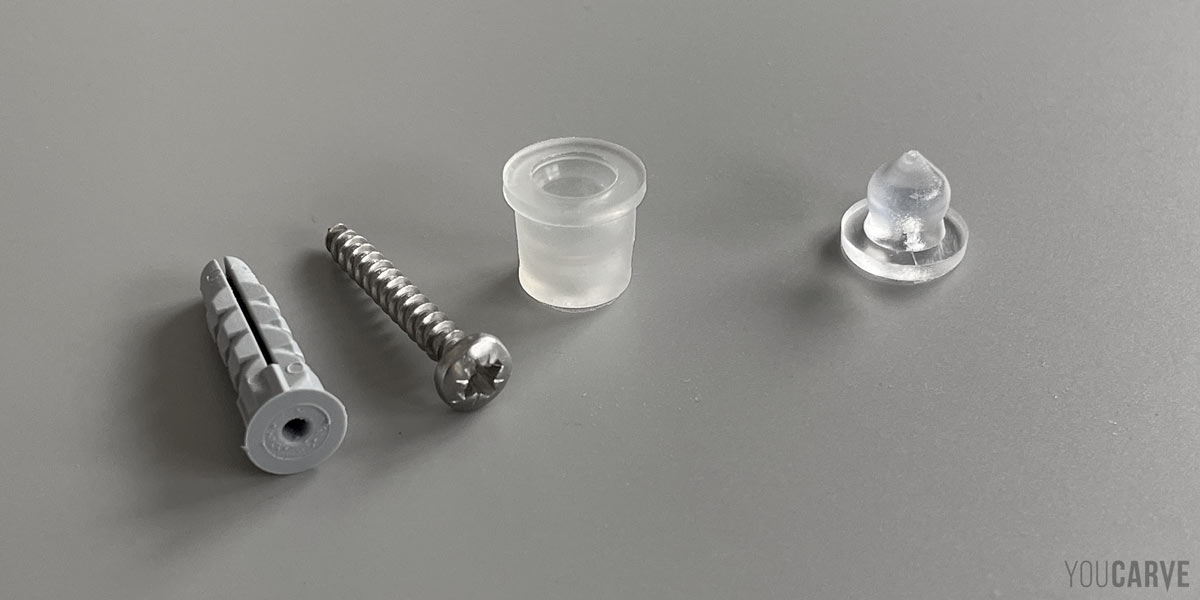
Good to know: in the package, we include stainless steel fixing screws as well as universal wall plugs compatible with most supports (concrete, brick, plaster, wood, etc.). It should be noted that depending on the nature of your wall, it may be necessary to use specific wall plugs. Some materials, such as solid wood, however, allow direct screwing without a wall plug.
How does the clip-on stand-off fixing work for sign letters?
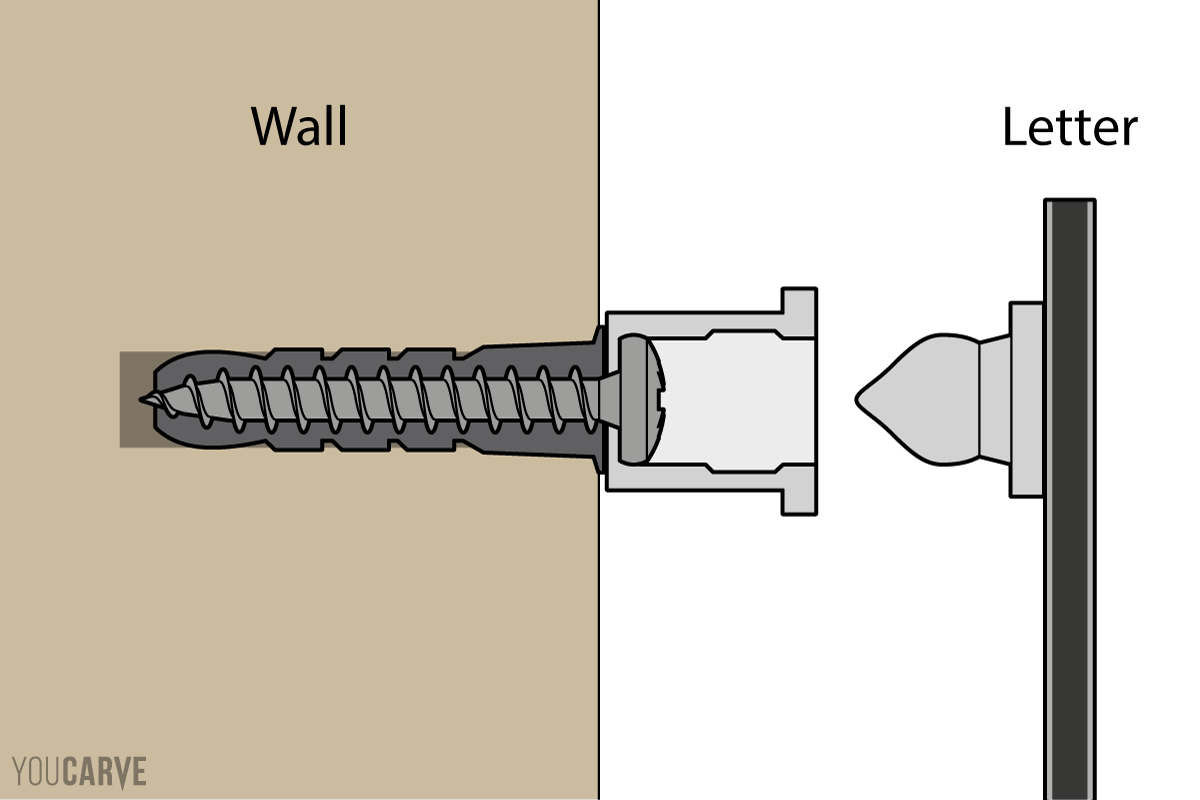
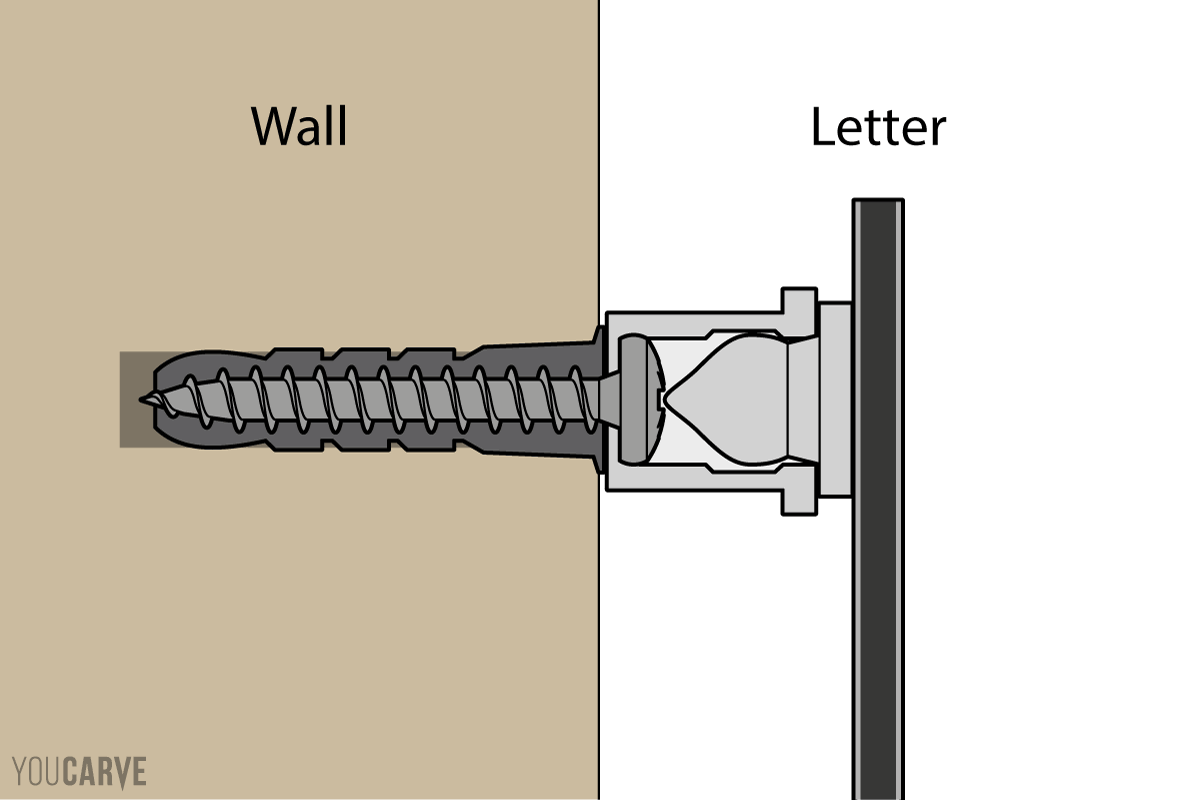
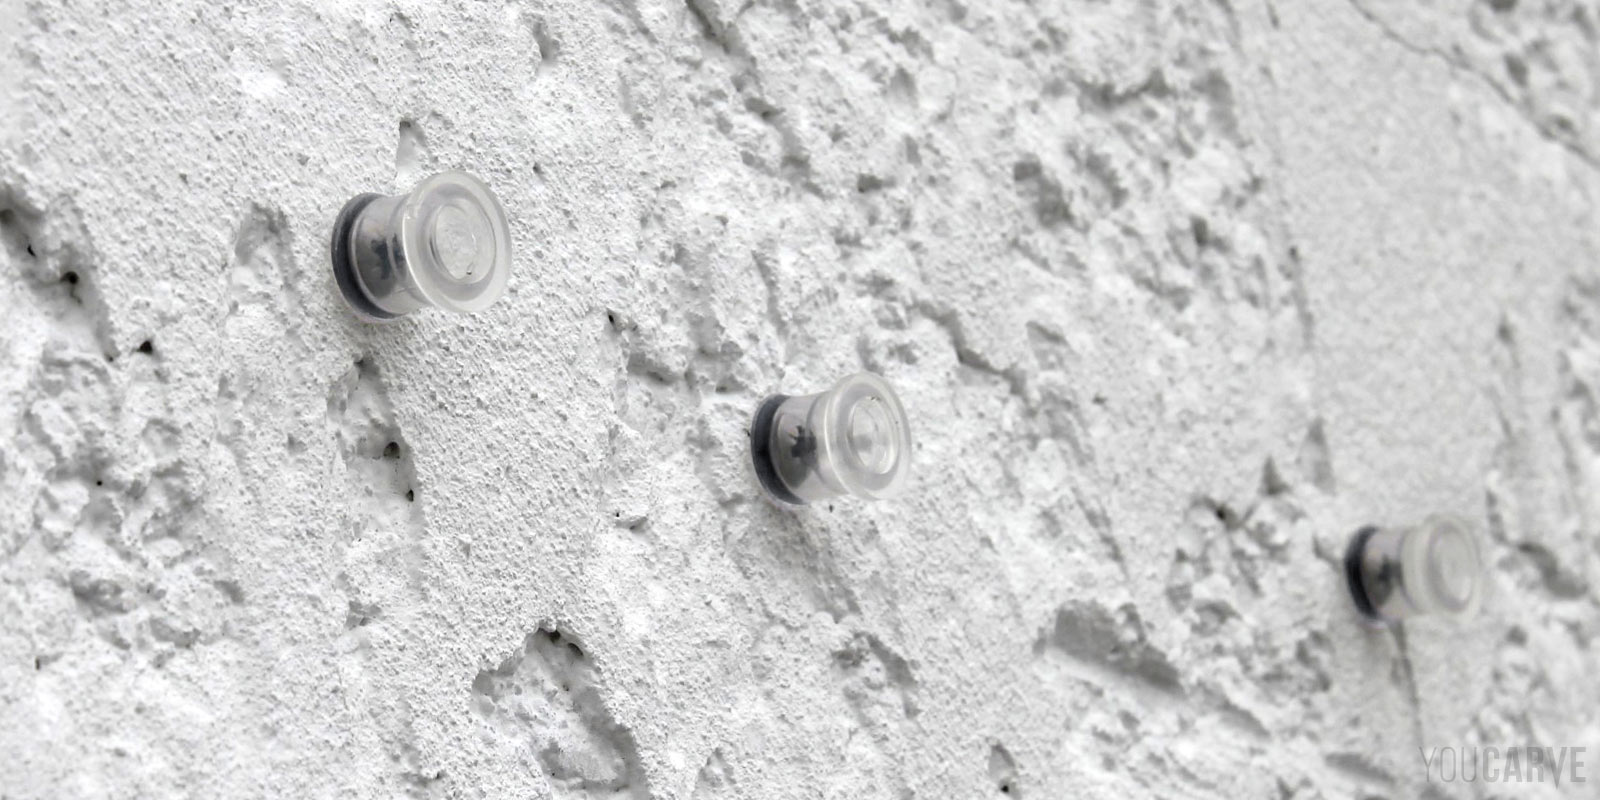
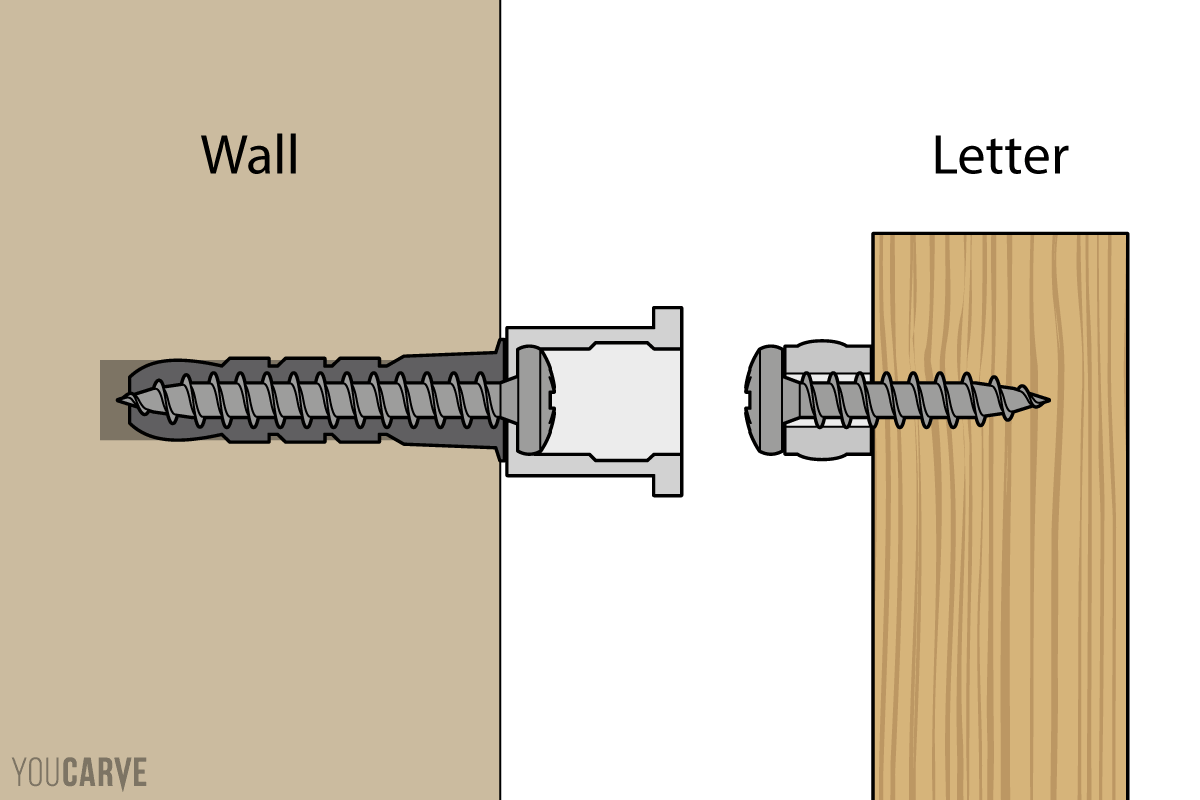
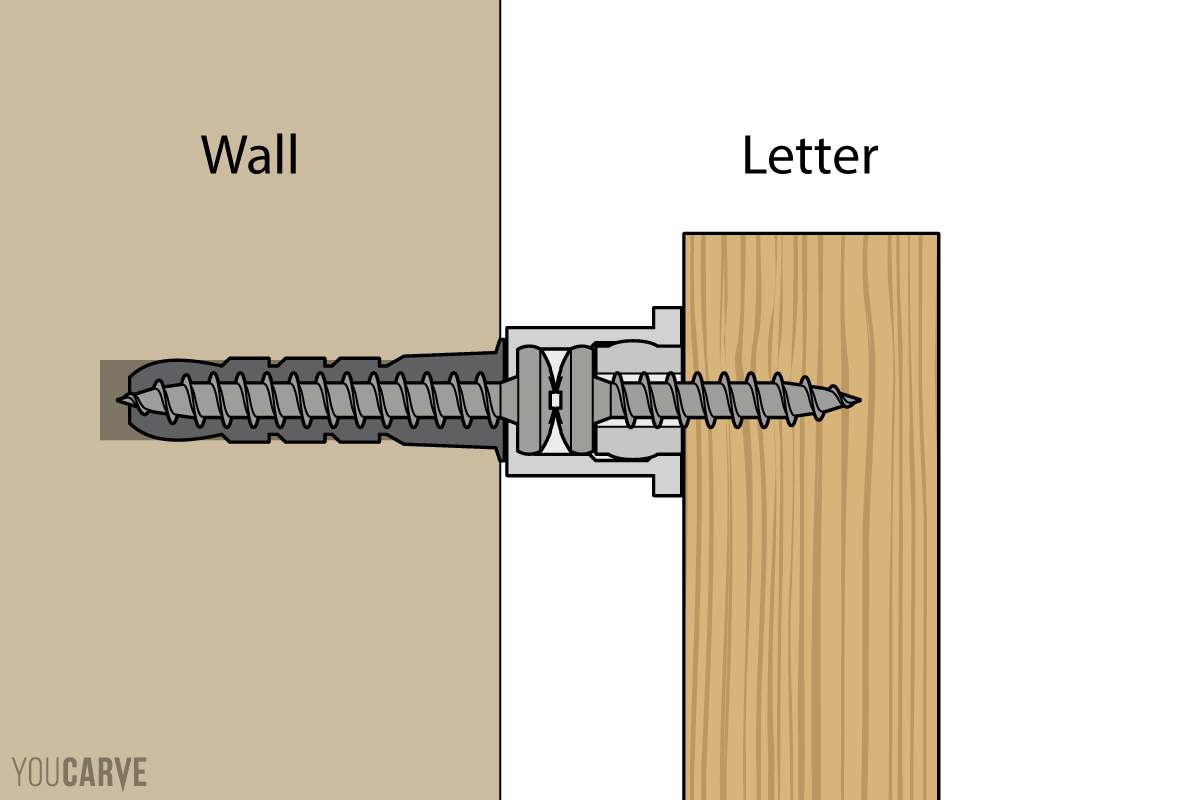
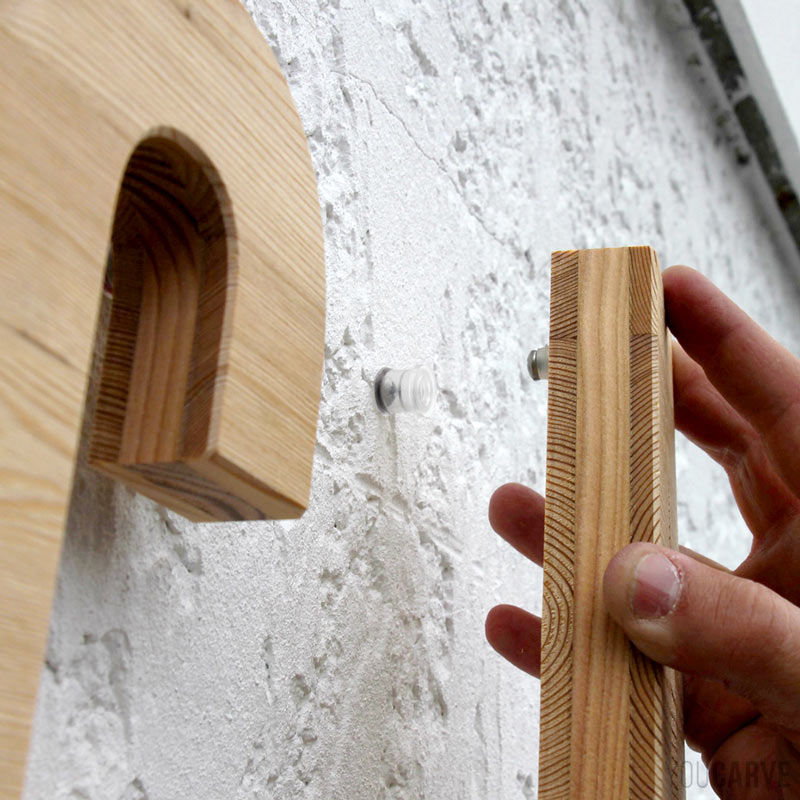
The stand-off fixing (sometimes called fixing cleats or spacer sleeves) is a simple and effective mechanical system: studs glued to the back of the letters (male parts) fit into sockets (female parts) screwed onto the wall or support panel.
The interlocking is powerful enough to resist gravity and common weather conditions. However, it allows for easy removal of the letters if necessary (maintenance or moving).
Good to know: we calculate the optimal number and positions of the fixings for you to guarantee perfect hold and an aesthetic result. Thanks to the installation template provided with your letters, installation becomes child's play: all you have to do is transfer the markings to the indicated locations.
Step 1 - Transfer the fixing positions using the template
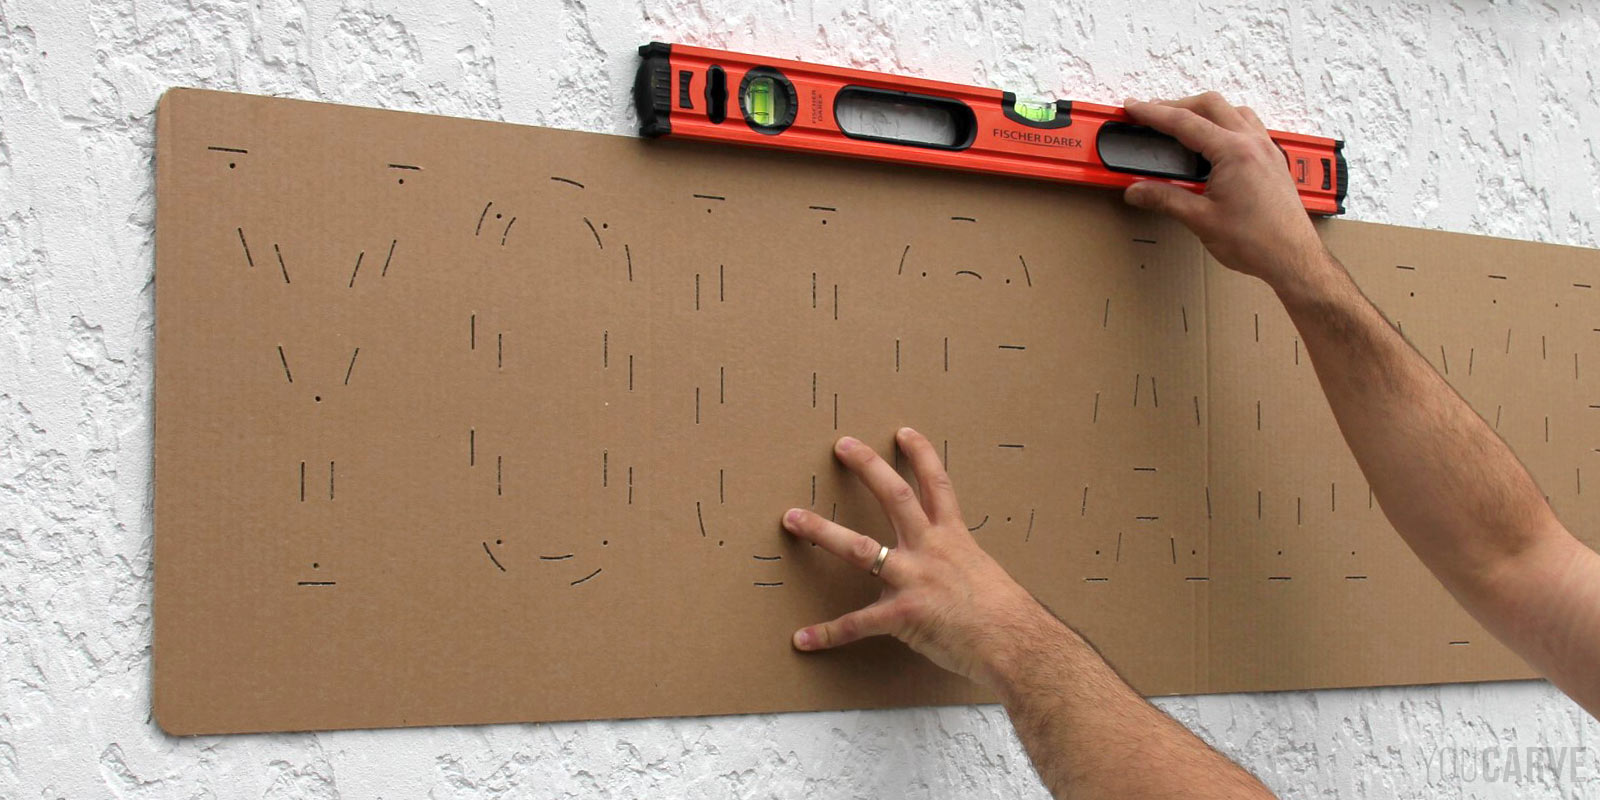
The drilling template is used to mark the precise location of each stand-off.
Unfold the cardboard template flat and remove the protective films from the adhesive strips located on its back. Using the level and tape measure, position the template exactly as desired on the support.
Tip: the adhesive on the back of the template is repositionable and is intentionally not very strong so as not to risk damaging certain supports. If its adhesion is not sufficient depending on the wall material, reinforce the temporary hold with strong tape or ask a second person to hold the template during marking.
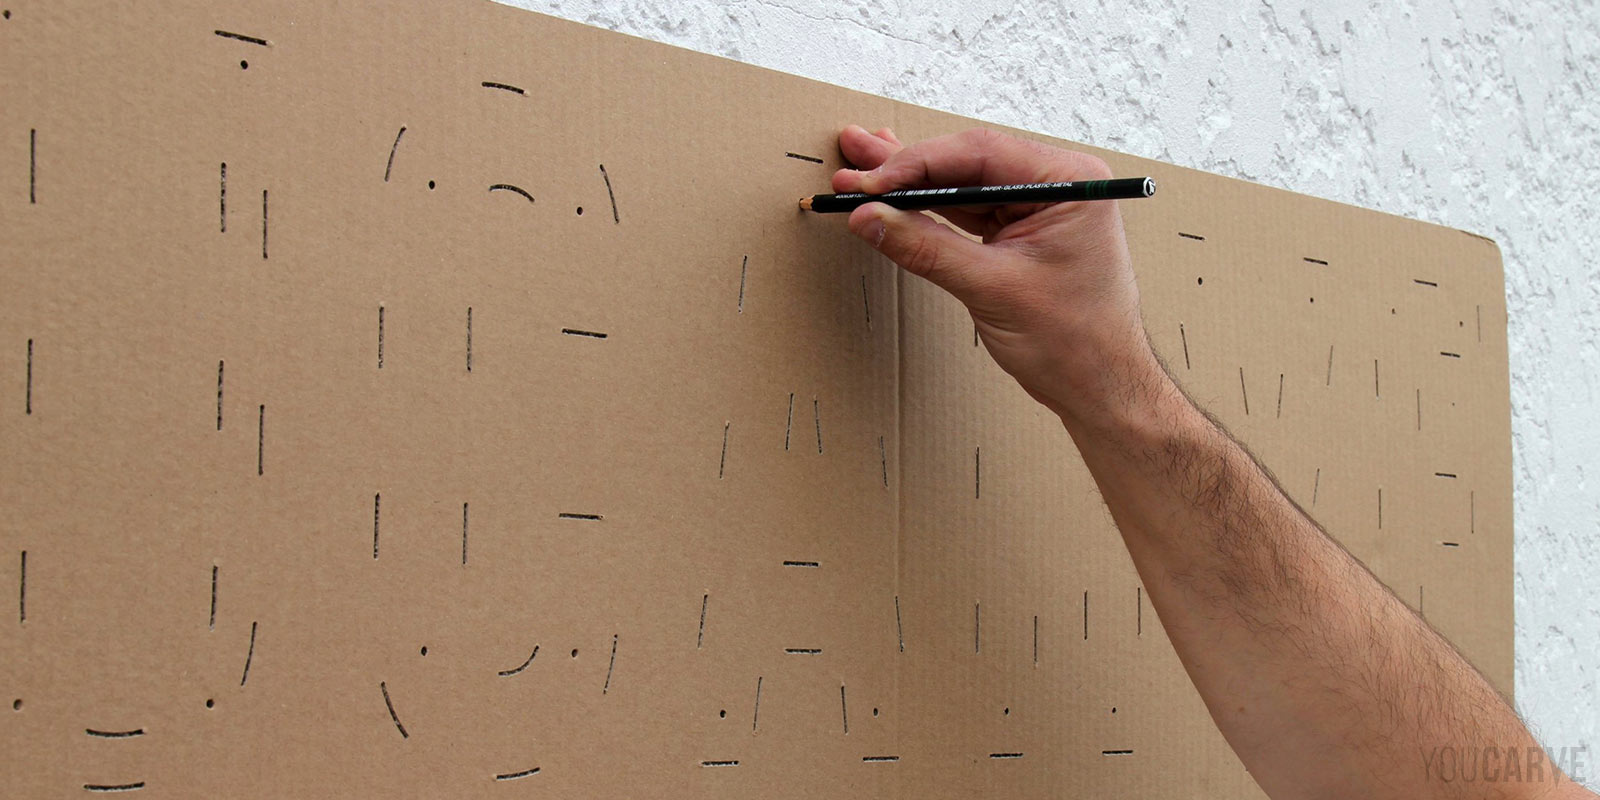
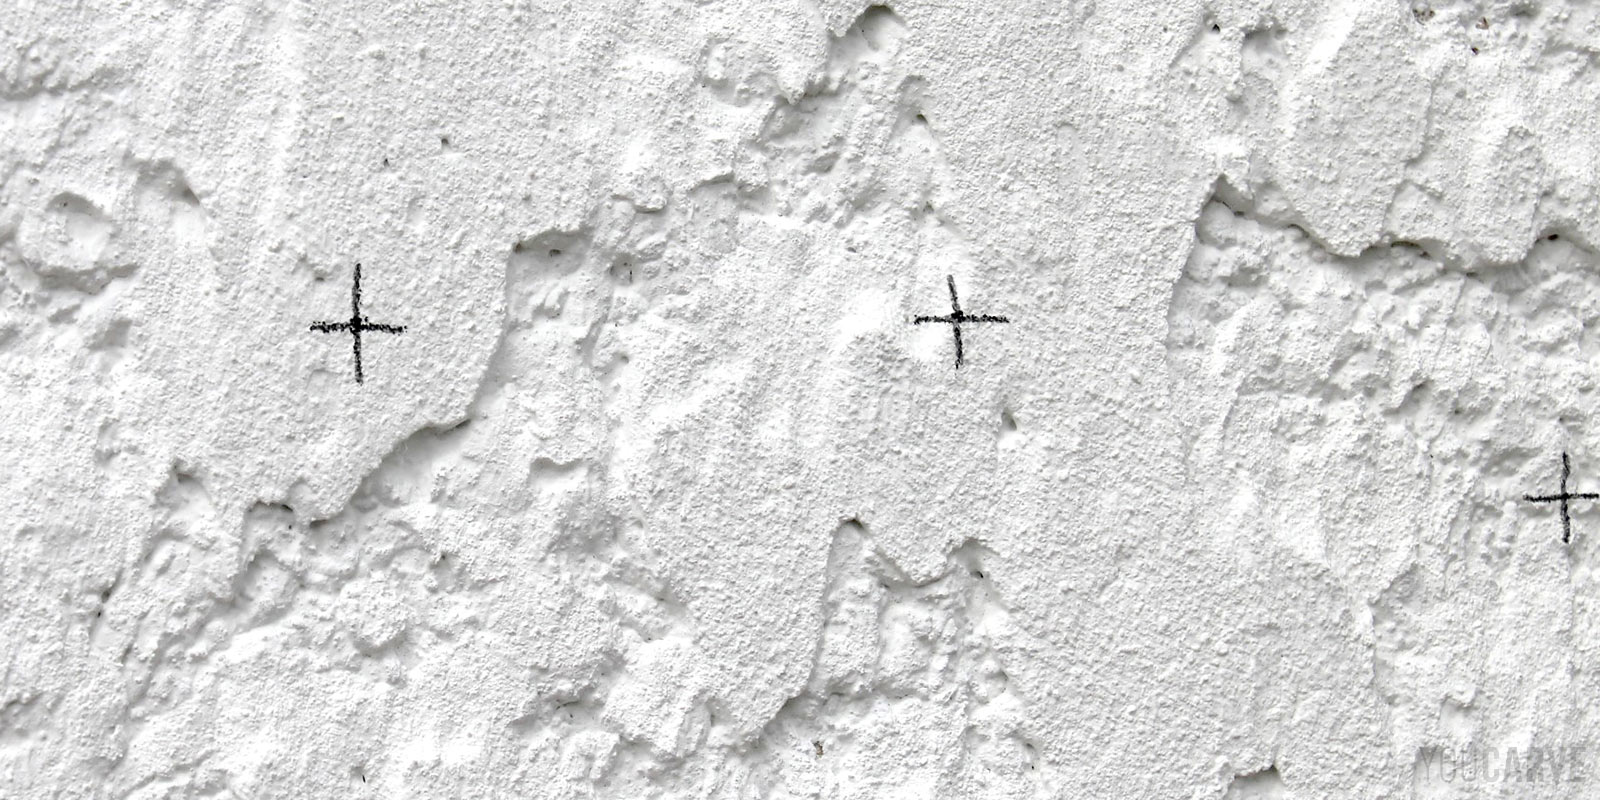
Using a pencil, mark the drilling points through the small holes in the template. Once finished, remove the template and, if necessary, darken the marks for better visibility.
Note: to save time you can also drill directly through the template. However, we recommend transferring the positions for two reasons: on the one hand, you will have better visibility of your support during drilling, and on the other hand, if the sign or decoration is to be moved later, you can reuse the template for a new installation.
Step 2 - Drill the support and insert the wall plugs
Note: if the material allows direct screwing without a wall plug (example: into wood) you can skip this step and screw the sockets directly.
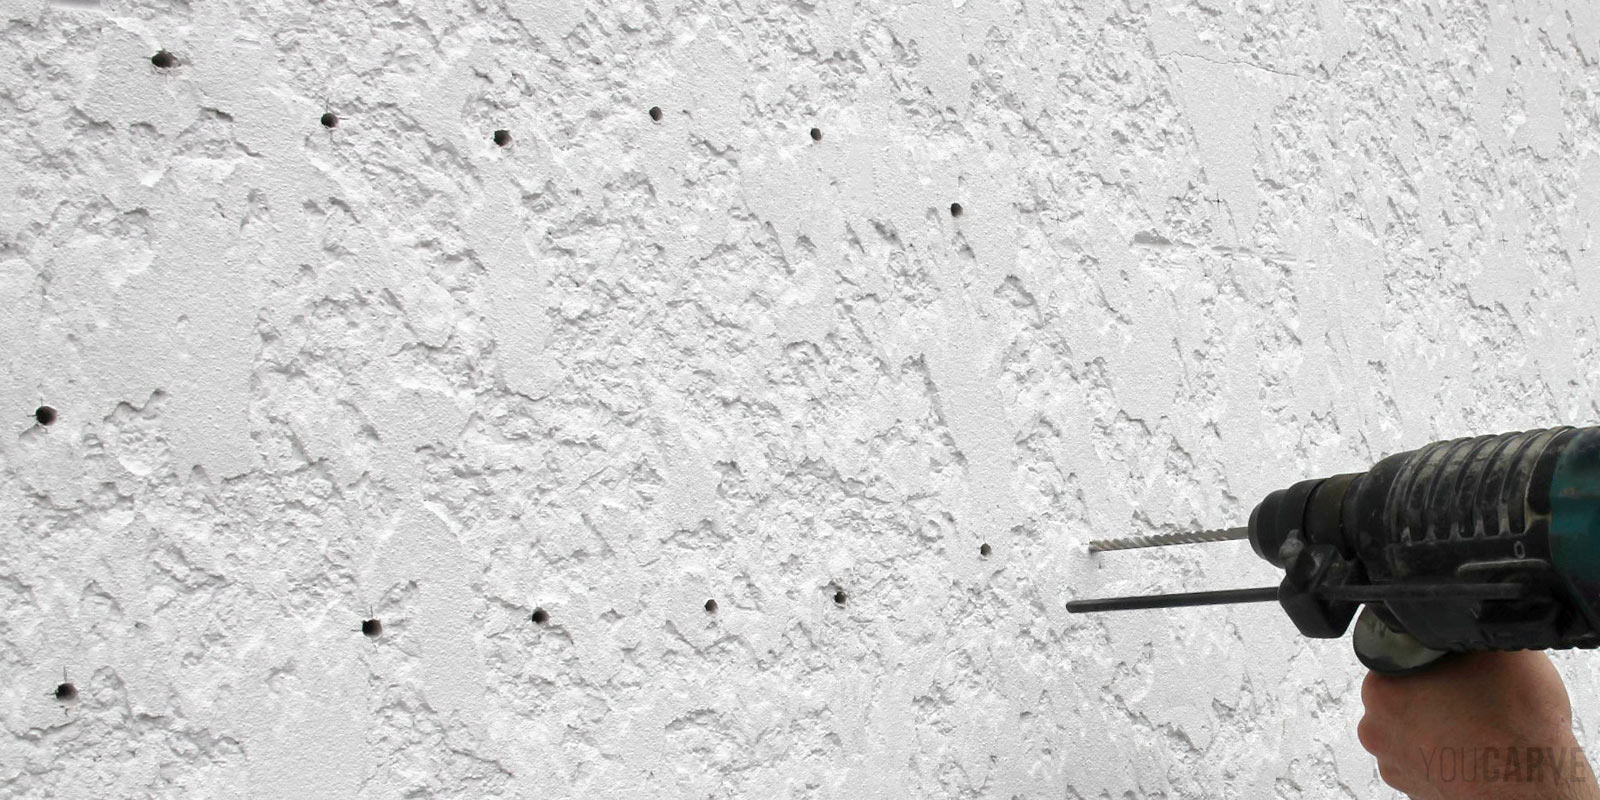
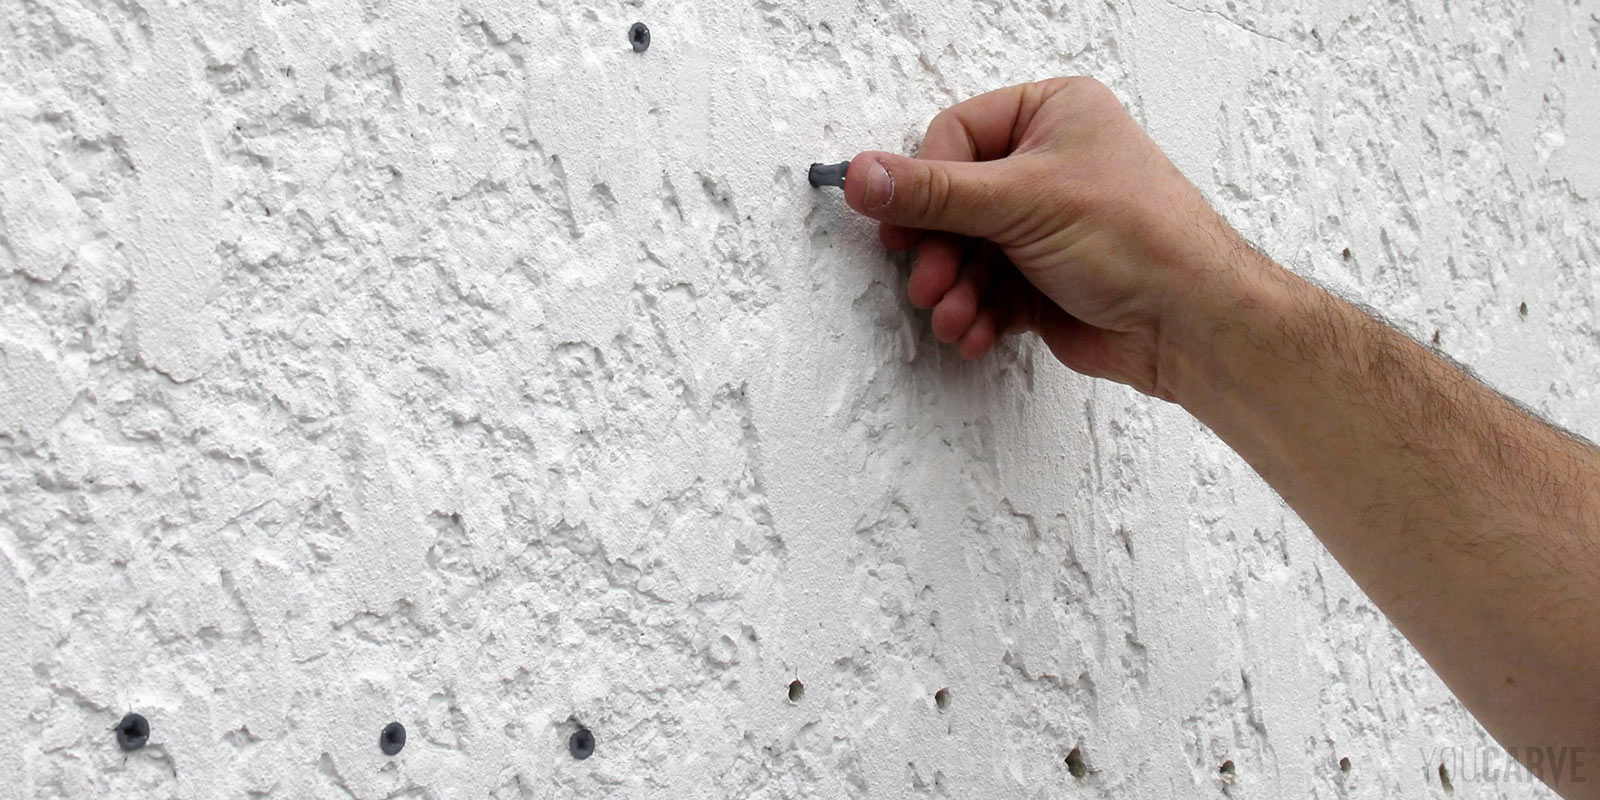
Drill at each mark. If you use the universal wall plugs we supply, use a 6 mm diameter drill bit to a minimum depth of 30 mm.
Then insert a wall plug into each hole.
Step 3 - Screw the fixing sockets
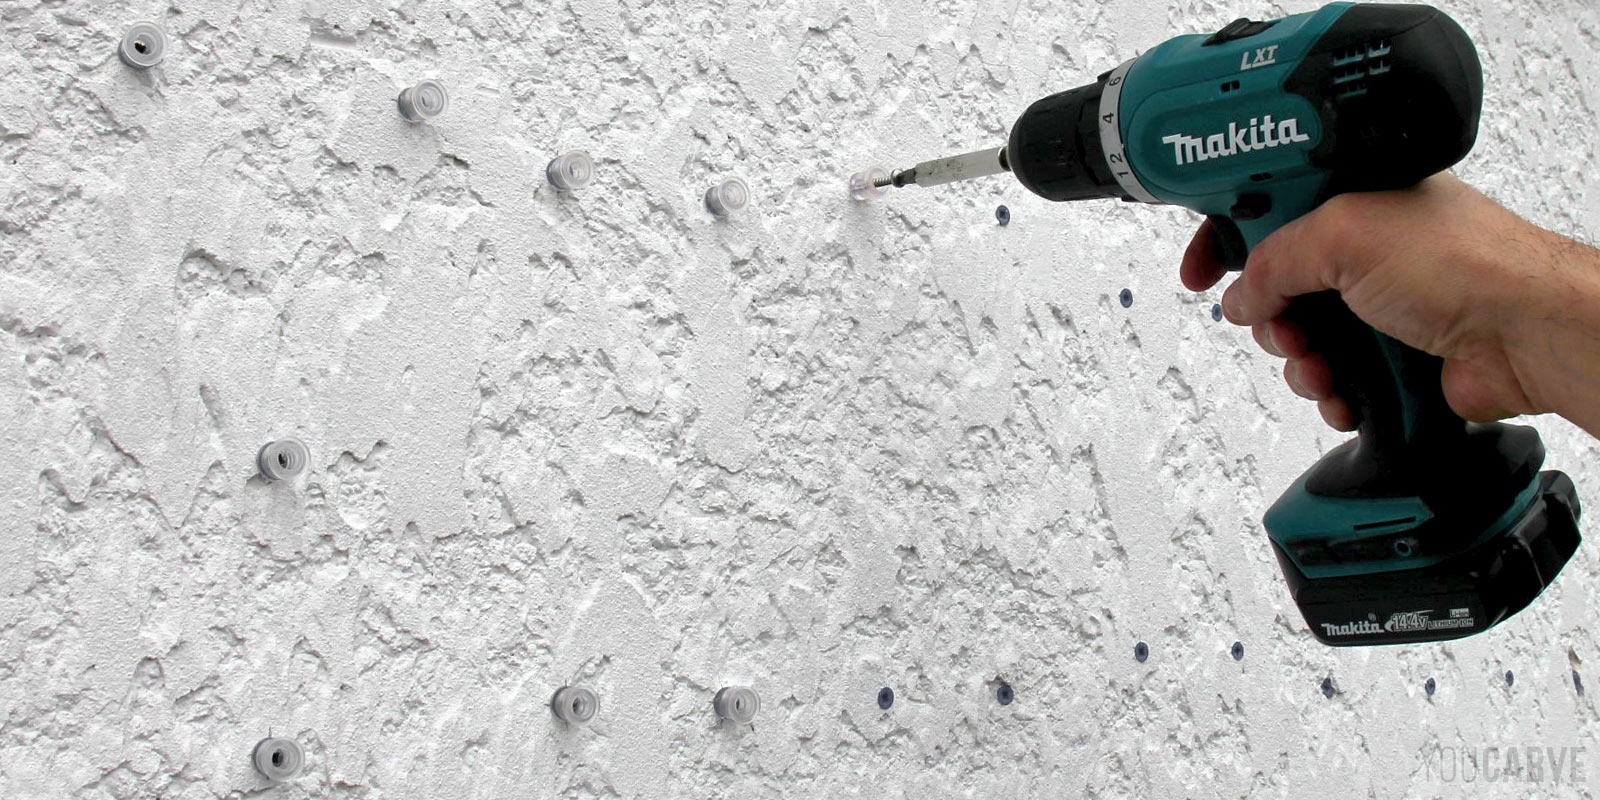
Screw the provided sockets onto each position, until the screw head rests against the bottom of the socket.
Do not overtighten: too much pressure could damage the fixing.
Tip: perform the screwing by hand, or with a screwdriver/driver set to the minimum torque, then finish with a screwdriver for more precision.
Step 4 - Clip the letters onto the stand-offs
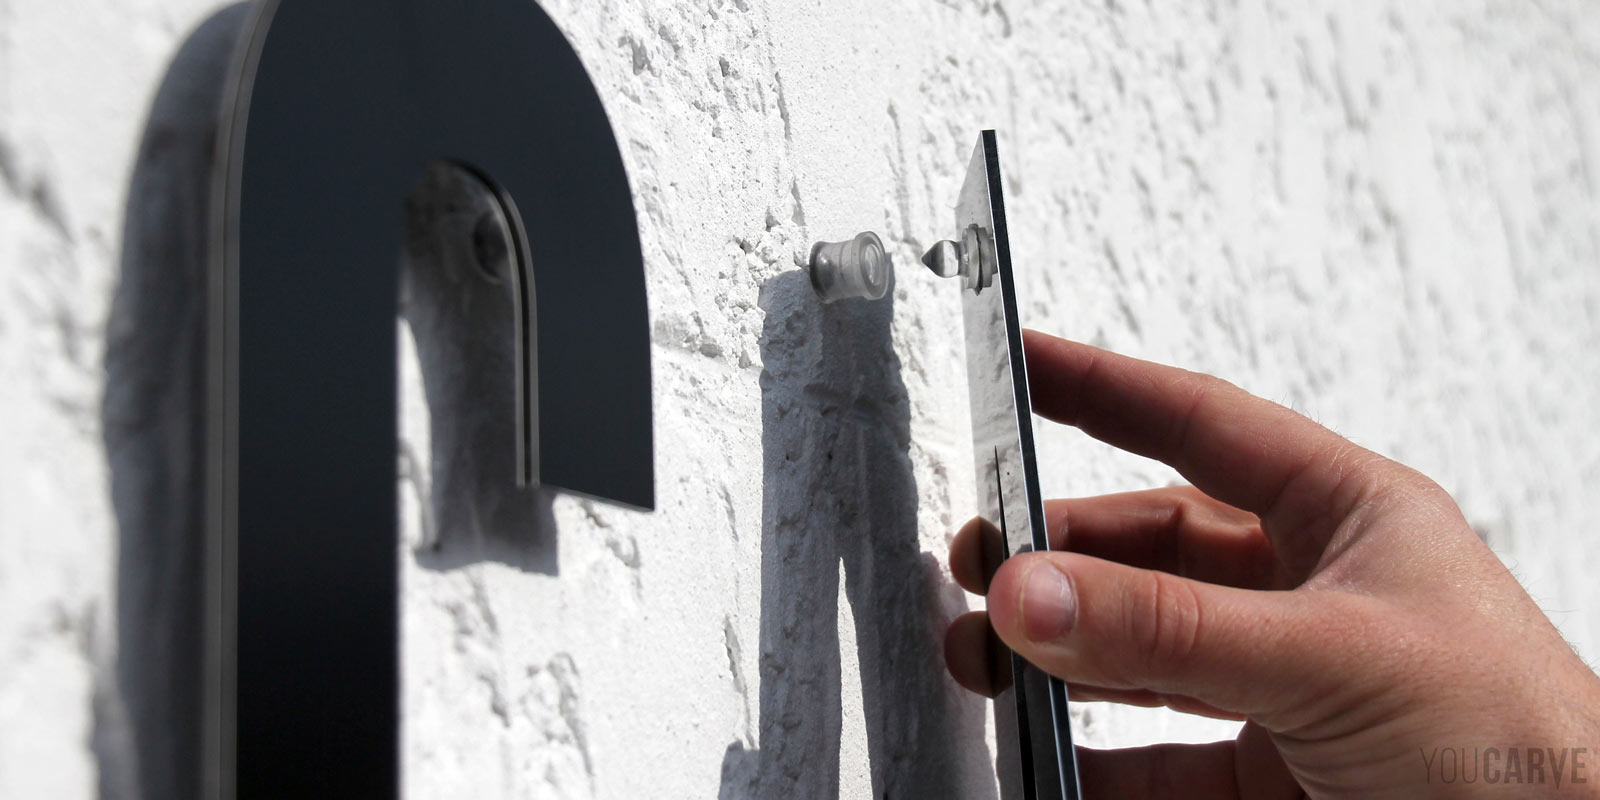
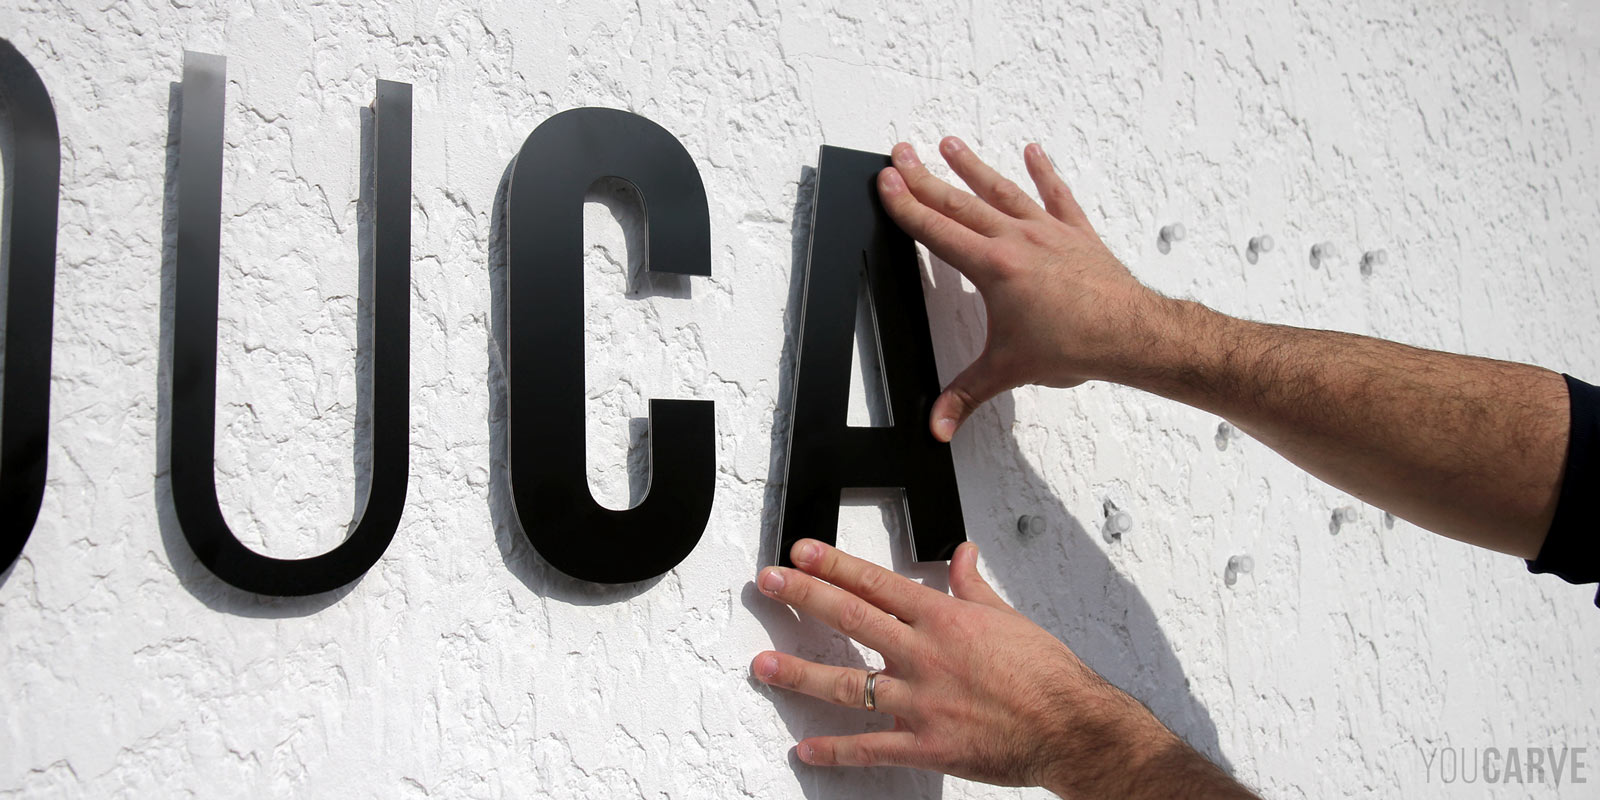
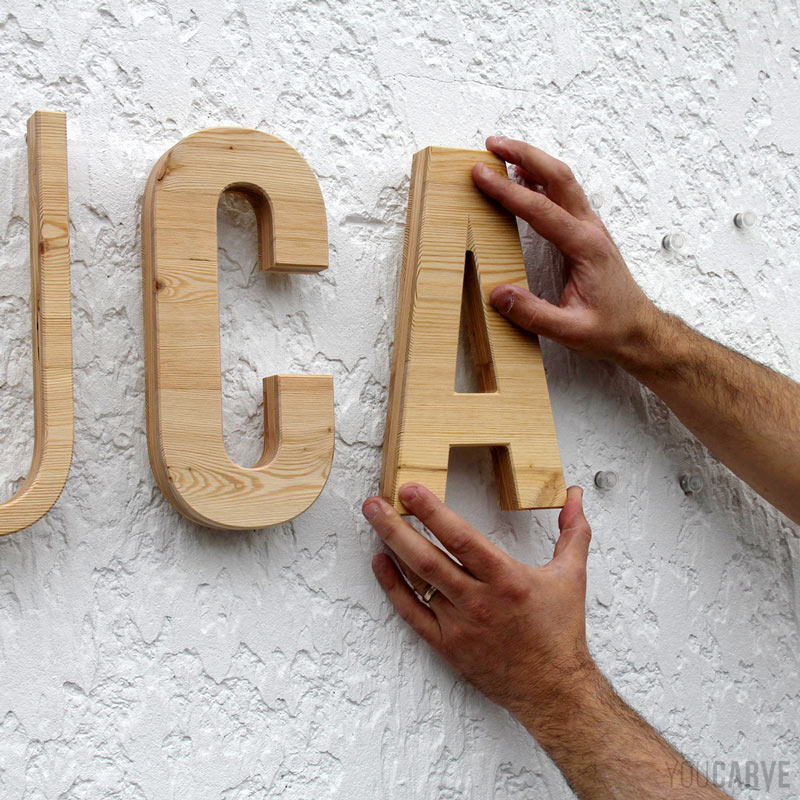
Now comes the most satisfying step: fit each letter by hand onto the sockets fixed to the wall. You will feel a slight "click" when clipping, a sign that the letter is properly locked. No additional screws or glue are necessary.
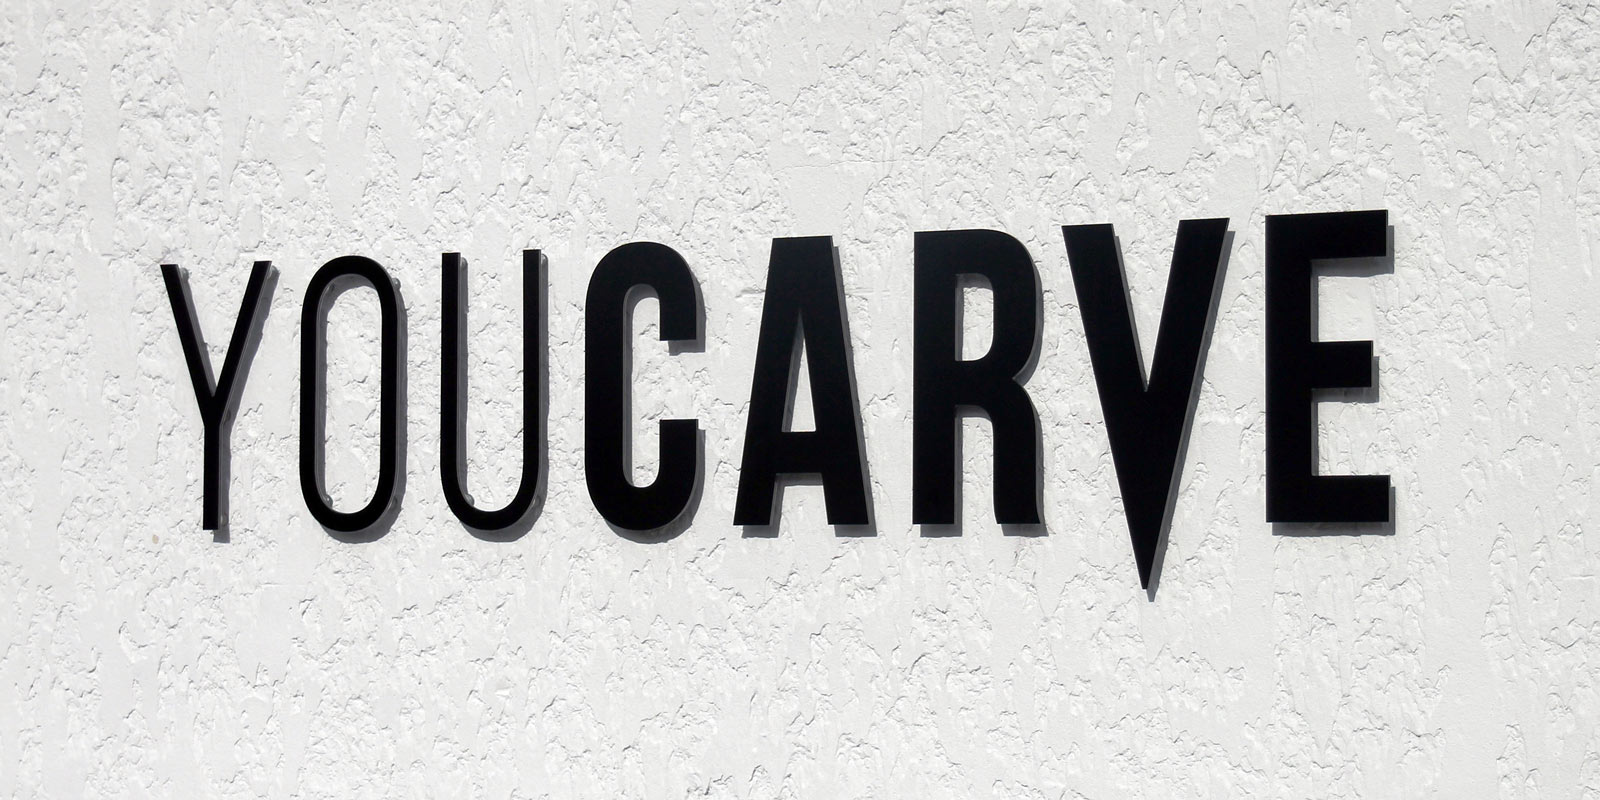
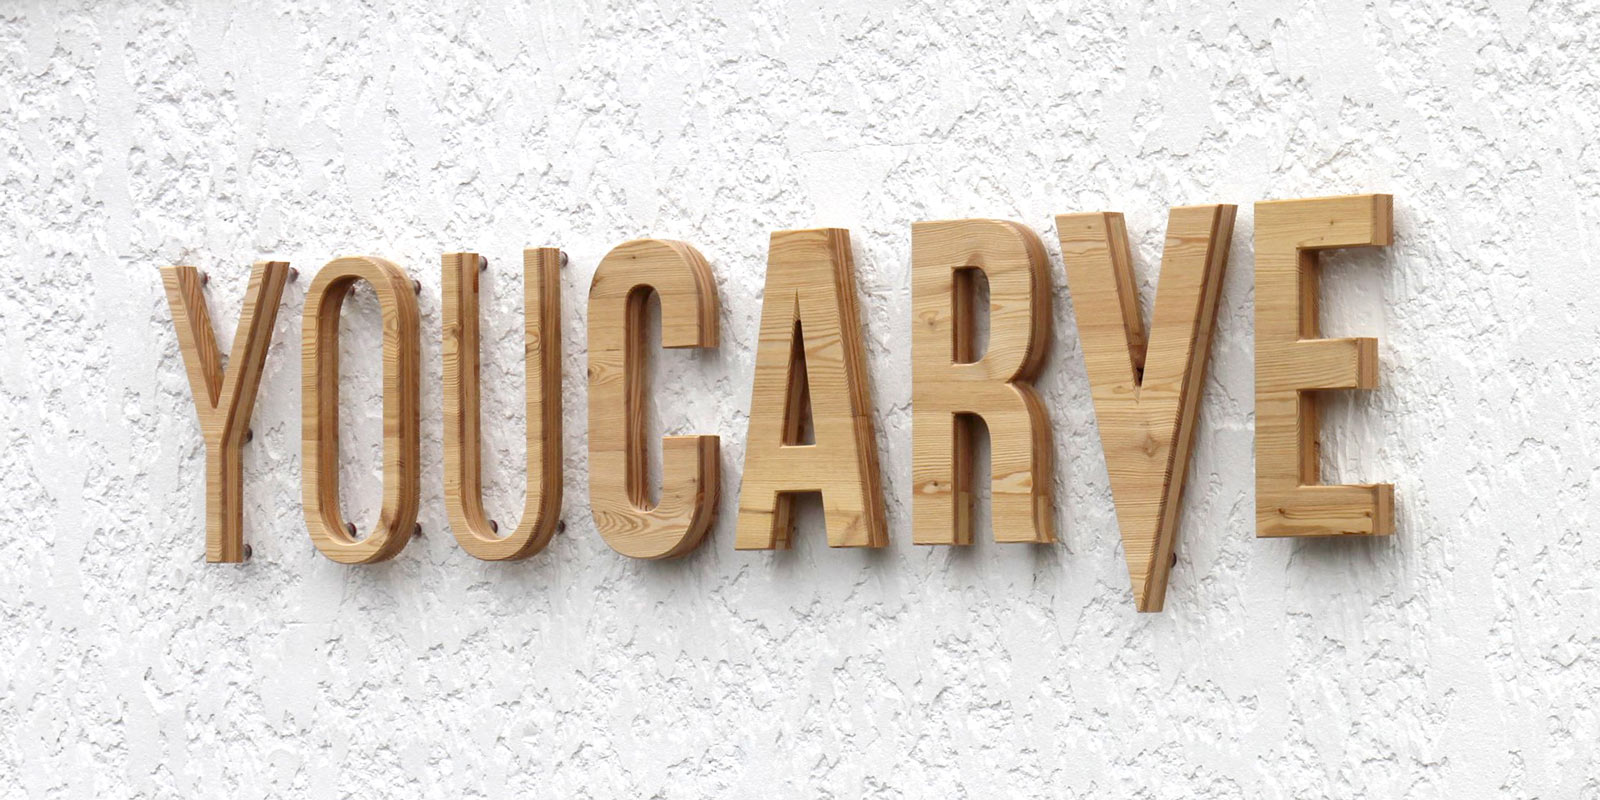
The final result is clean and perfectly aligned:
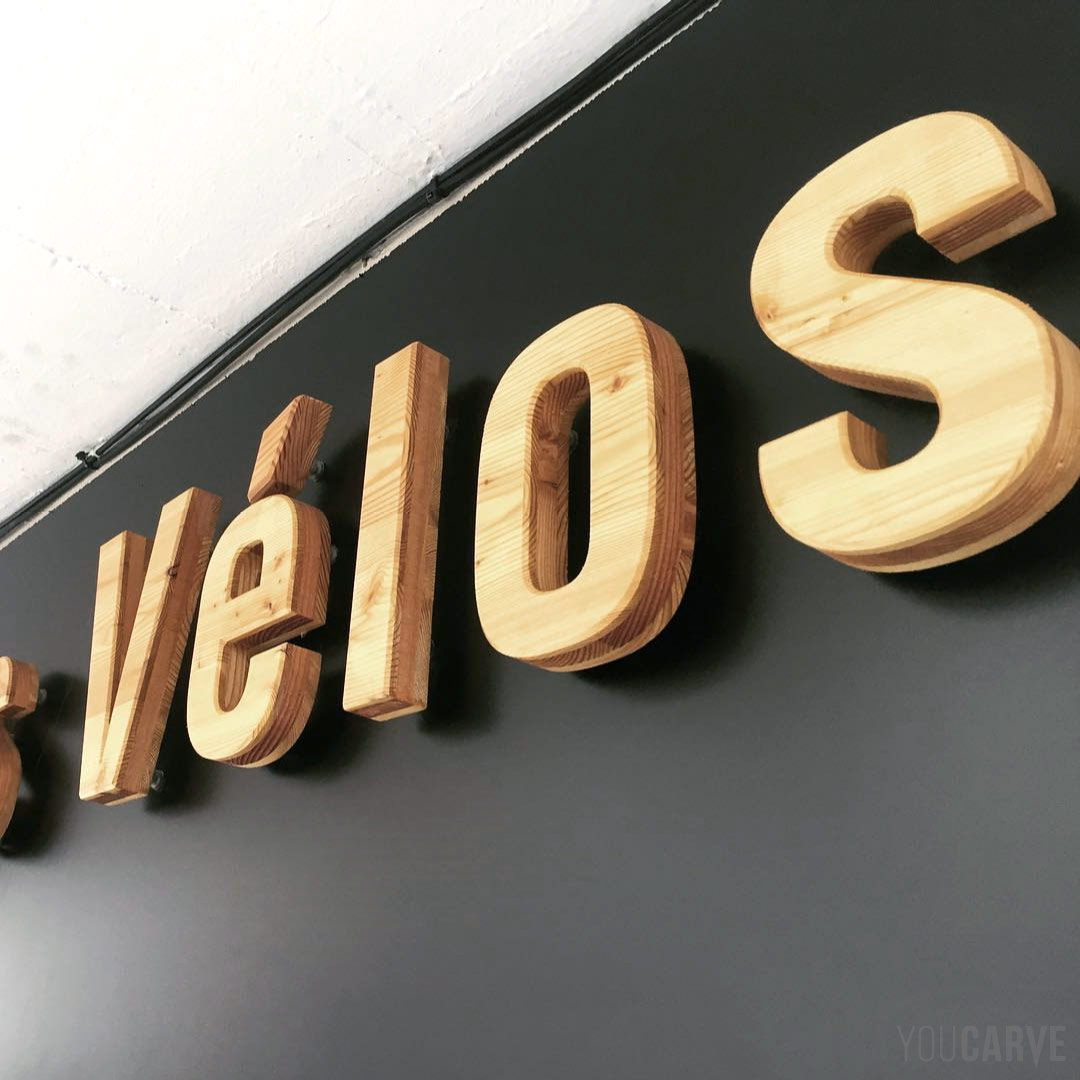
Case of wooden letters
The principle of stand-off fixing remains the same for wooden letters (fitting a male part on the back of the letters into a female part on the wall), with the difference that the male part's stud is screwed directly into the wood, the screw head helping to form the tenon.
A few precautions during installation
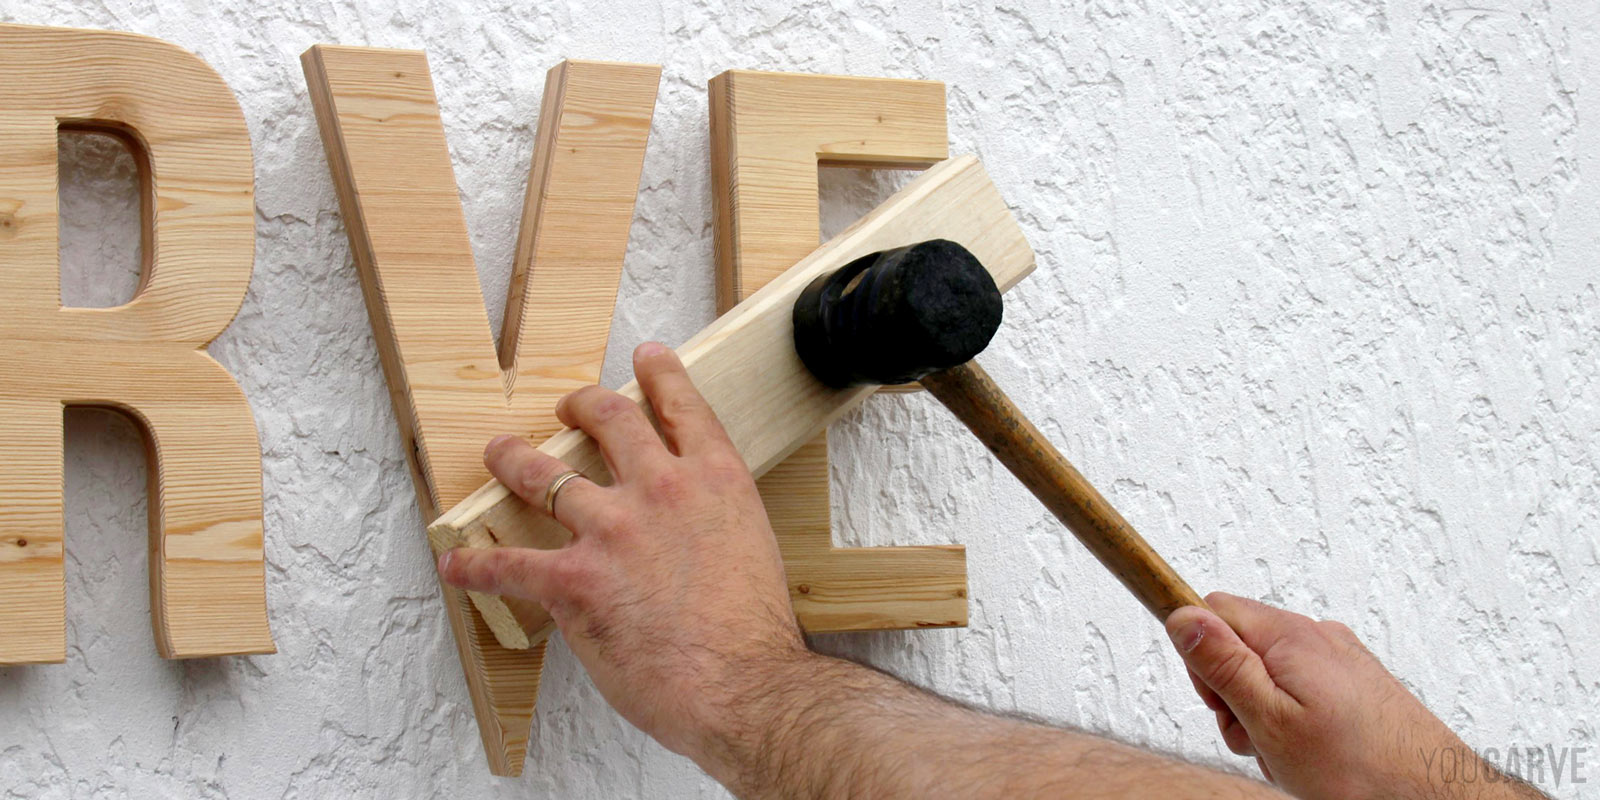
Wooden letters may require a few extra precautions during installation, as the fitting effort can be significant. To avoid any risk of breakage or cracking, it is recommended to start the clipping by hand, then finalize the fitting using a mallet, moderating the strike. Never strike the wooden letter directly; always use an intermediate block between the mallet and the piece to avoid any risk of damage.
Good to know: if necessary, the firmness of the fittings can be softened/hardened by slightly unscrewing/rescrewing the tenon screws on the back of the letters or shapes.
Frequently asked questions about installing a sign with stand-offs
Can I install letters on stand-offs myself?
Yes, as we have just seen in this article, it is entirely possible to install your sign letters yourself and achieve a professional result by following the steps in this guide and taking the necessary safety precautions in case of installation at height.
Is the clip-on stand-off fixing strong?
Yes, our clip-on stand-offs ensure a solid and durable fixing outdoors. They are designed to withstand common weather conditions such as wind, rain, or temperature variations. As with any removable system, it is possible to unclip the letters with significant effort. In areas easily accessible to the public, it may therefore be wise to reinforce the fixing to limit any risk of theft or vandalism: you can, for example, add a dot of glue inside the stand-offs (which will make the fixing permanent) or install a small screwed locking bracket to prevent spontaneous removal.
Is a laser level necessary?
No, a simple spirit level is sufficient to correctly align your template. Transferring the drilling positions using the template then guarantees that the letters of your sign will be perfectly aligned and spaced.
What type of wall plug should I choose depending on my wall?
The universal wall plugs supplied are suitable for most supports. For crumbly walls (plaster, hollow brick), prefer a specific expansion wall plug. In solid wood, you can even skip the wall plug and screw directly into the material.
Are the stand-offs visible?
When viewed from the front or even slightly from a three-quarter angle (i.e., in the usual position from which the sign is intended to be observed), the stand-offs are completely hidden behind the letters. They only become visible if the sign is viewed from the side or frankly in profile.
What is the gap between the letters and the wall, and can I choose it?
Our standard stand-offs create a gap of about 15 mm, which is ideal for achieving a beautiful relief effect while maintaining a discreet aesthetic. This gap is fixed and cannot be customized. In certain specific cases (large letters or logos), we may use larger stand-offs with a slightly larger gap. However, these more voluminous fixings are technically not suitable for the majority of small or medium-sized letters.
It should be noted that a 15 mm gap generally remains optimal: it highlights the lettering well without creating unsightly cast shadows.
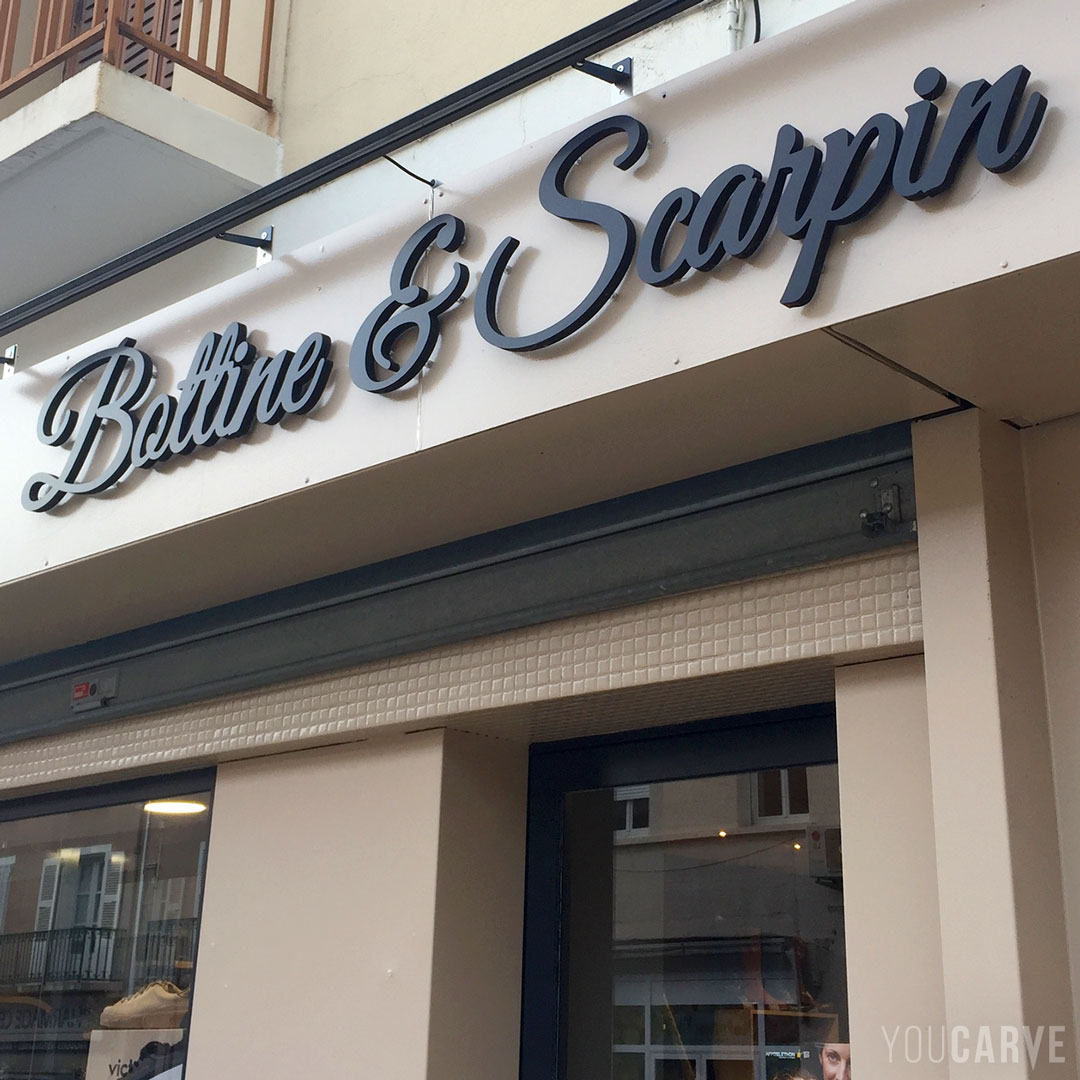
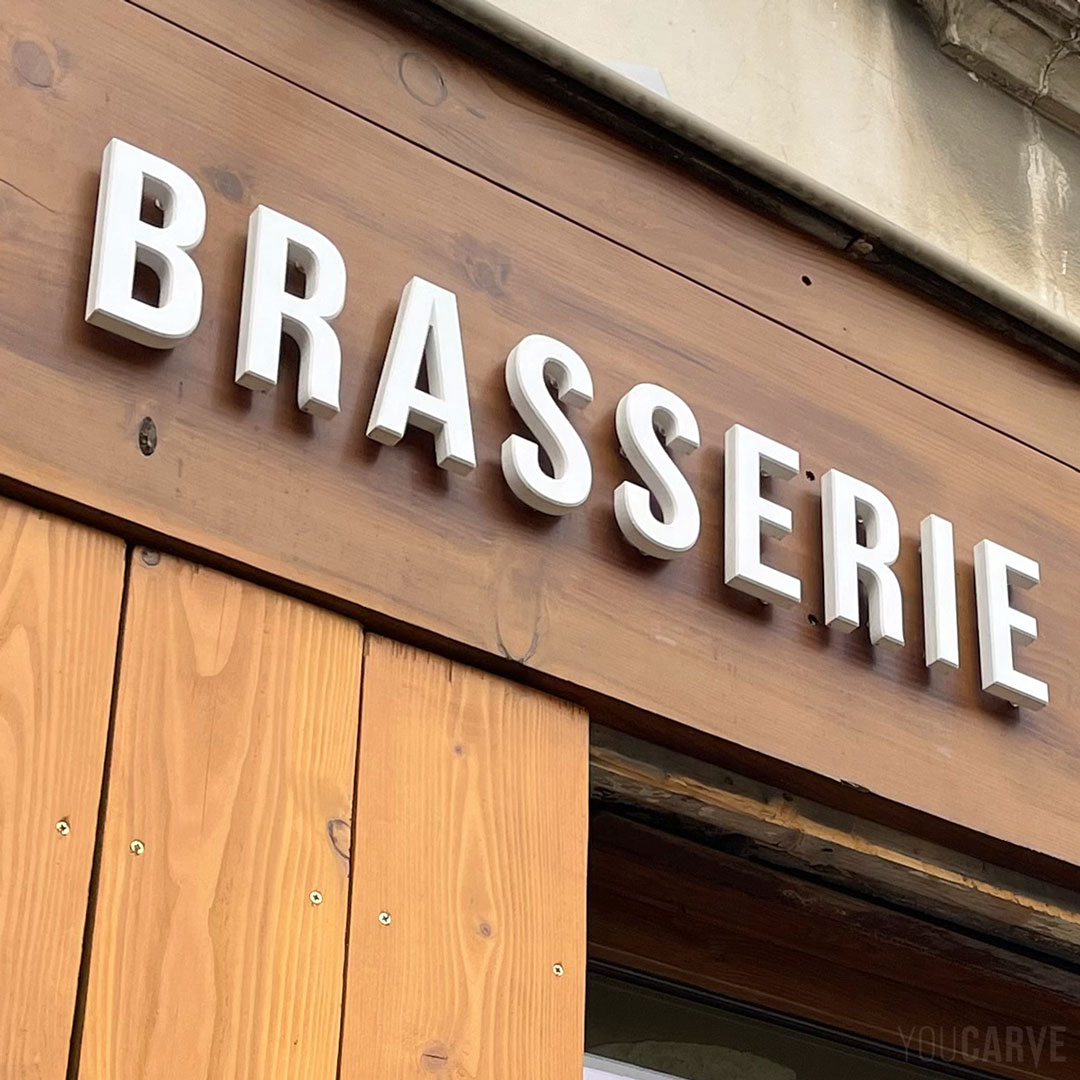
A few examples of inspiring achievements
Finally, here are some inspirational photos of sign installation examples with letters on stand-offs. These projects were all carried out directly by our customers following the instructions and techniques presented in this article.


