- a : Height -
- b : Width -
Non-contractual graphic preview; material textures are simulated for illustration purposes and may vary on the final product.
Choosing the right material
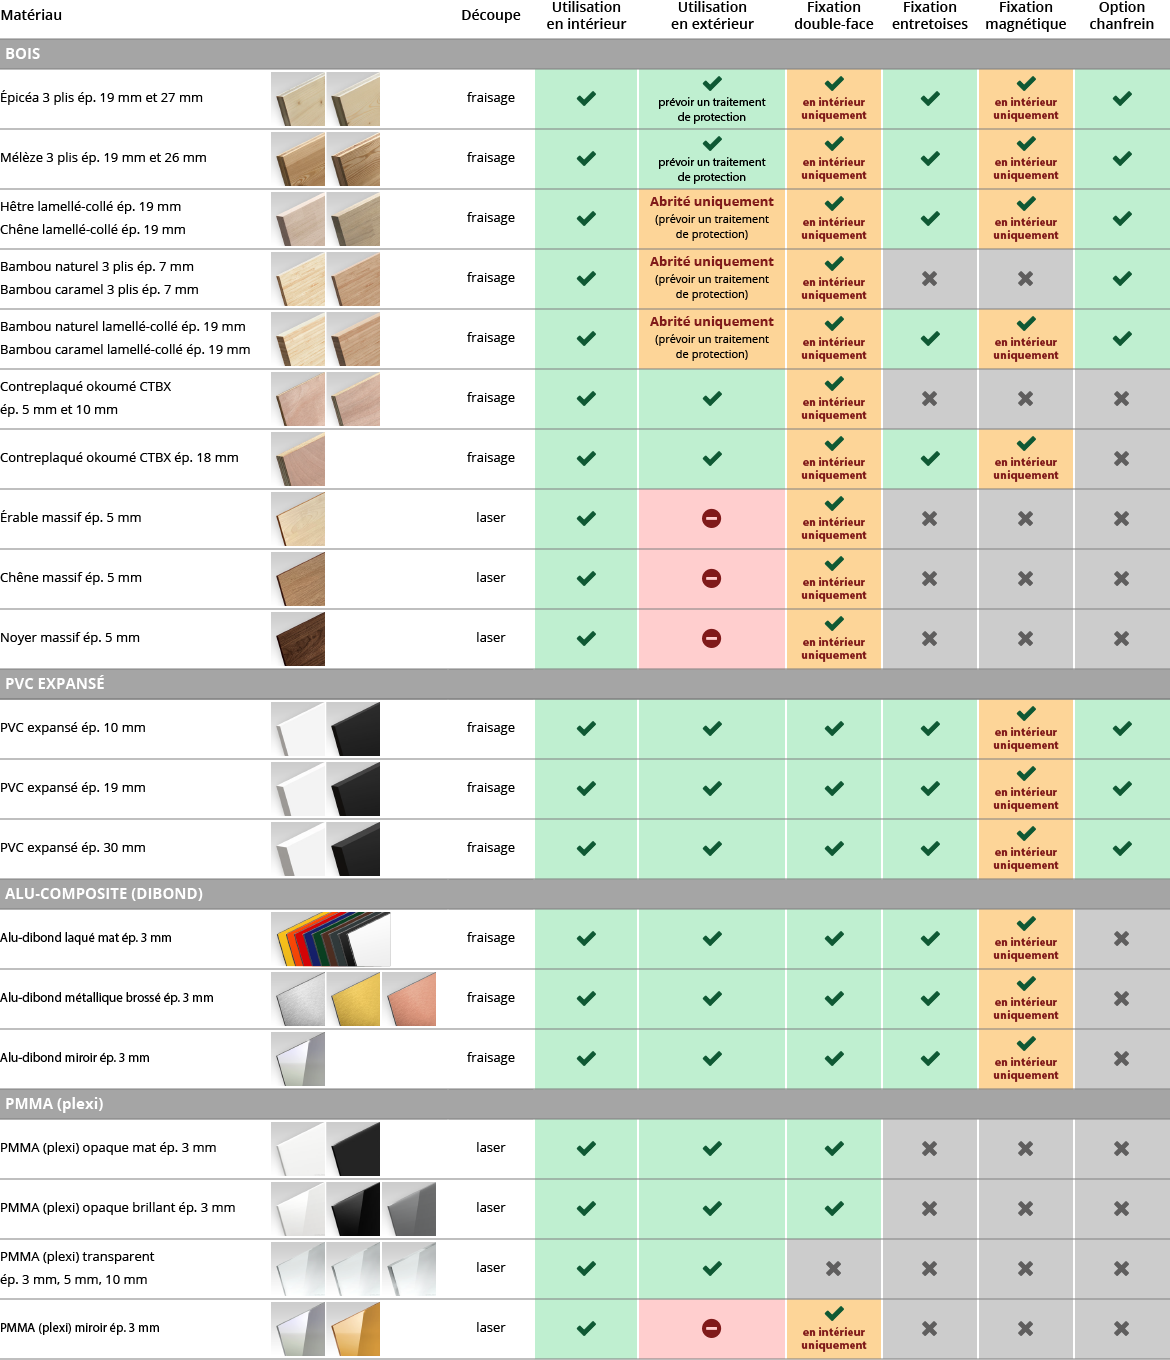
All our materials are suitable for indoor use, in which case the choice will be made primarily according to aesthetic criteria.
For outdoor use of letters:
- All alu-dibond and expanded PVC are suitable for long-term outdoor use.
- For wood, we recommend 3-ply larch as a first choice, with the prior application of a water-repellent and anti-UV protection (stain or varnish) before installation. 3-ply spruce is an excellent second choice (with protective treatment as well). Note that CTBX plywoods offer very good outdoor resistance without additional treatment. However, for aesthetic reasons, they are more intended to be painted.
Installation and fixing options
The positioning template
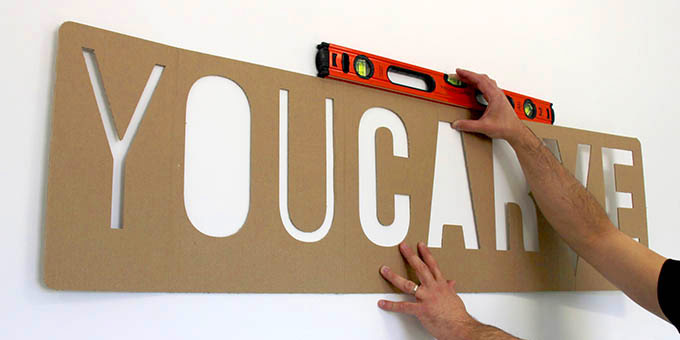
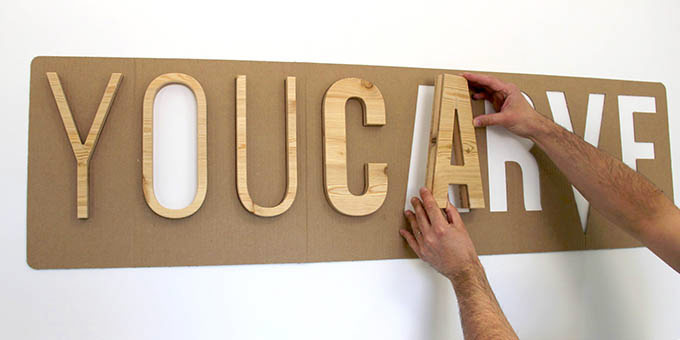
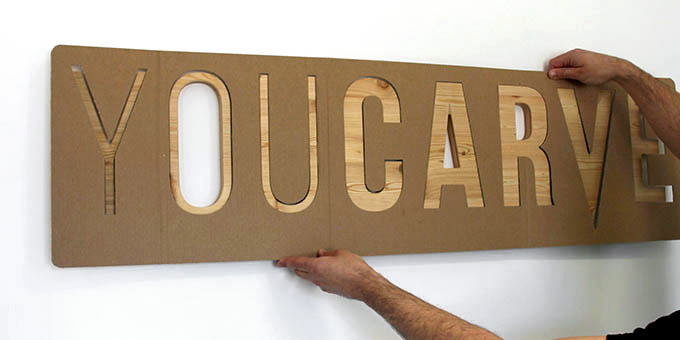
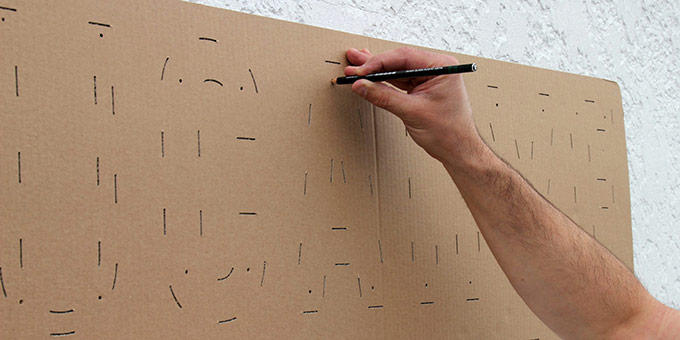
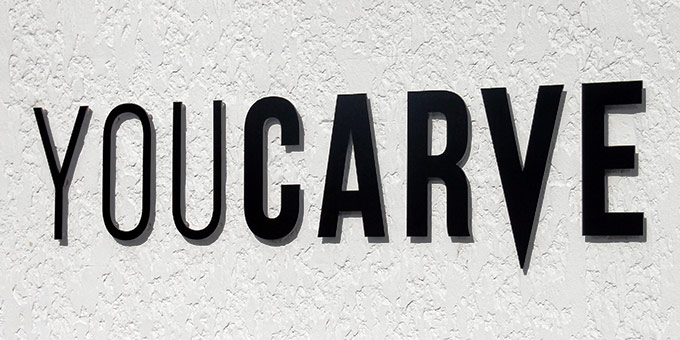
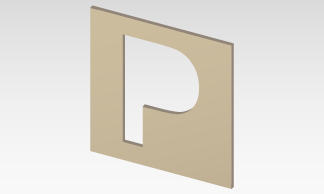
This is a real semi-rigid template made of brown cardboard. The silhouettes of your letters are cut out to allow precise insertion and easy and quick recomposition of your visual. The template is pre-adhesive and repositionable, simply place it on your support (wall or panel), insert the raised letters with their fixing (double-sided foam, gluing, screwing…) and finally gently remove the template.
Double-sided foam fixing
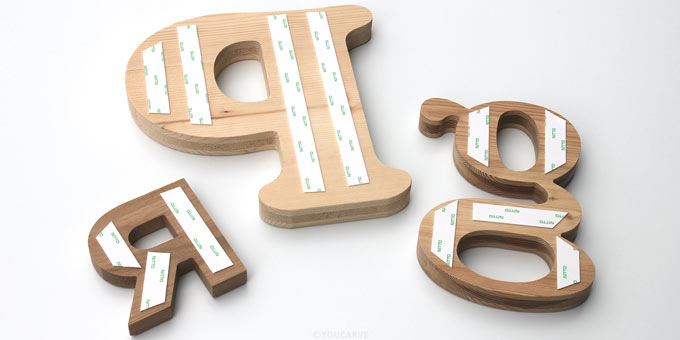
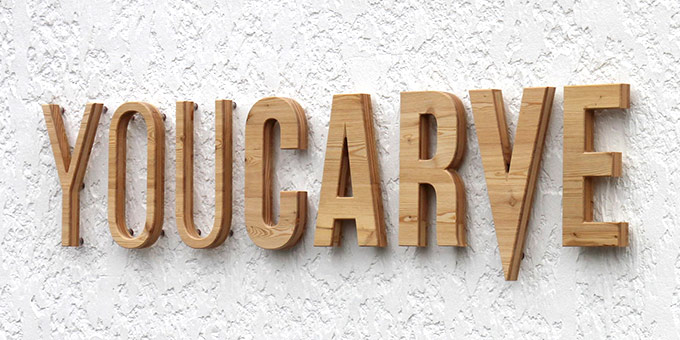
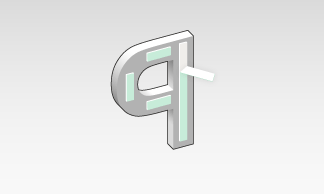
It allows for quick and permanent fixing on any flat, smooth, non-greasy and non-powdery support. The letters are pre-adhesive on the backs with double-sided foam strips or pads. Simply remove the protective films and then firmly apply the letters to your support (wall or panel). It is a simple and elegant fixing solution, because it is invisible once the installation is complete.
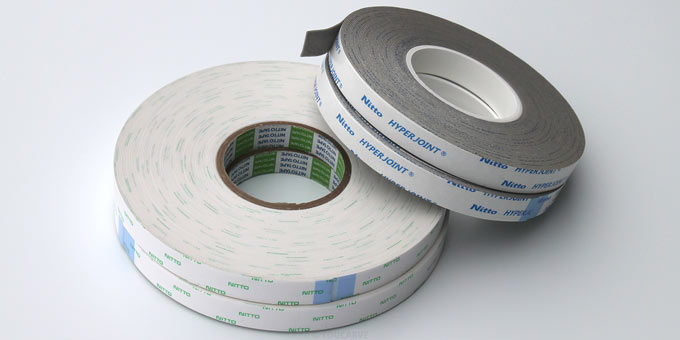
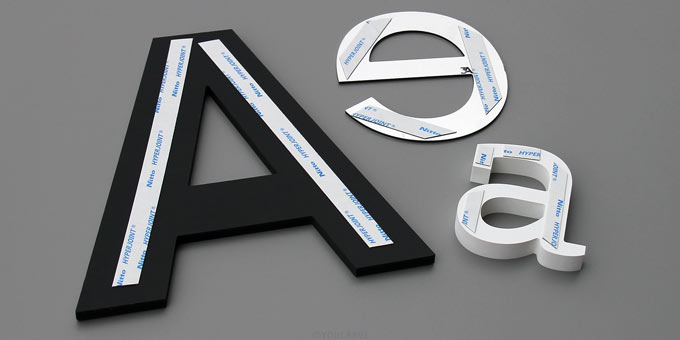
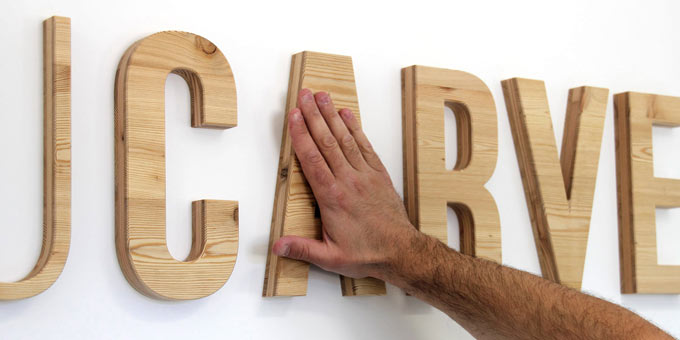
For letters in alu-dibond or PVC, double-sided foam can be used both outdoors and indoors.
For wooden letters, double-sided foam should only be used indoors and it is recommended not to treat the wood in this case.
Finally, double-sided foam can also serve as a comfortable support for another fixing solution, such as holding letters during screwing, or drying time in the case of fixing by gluing.
Spacer fixing
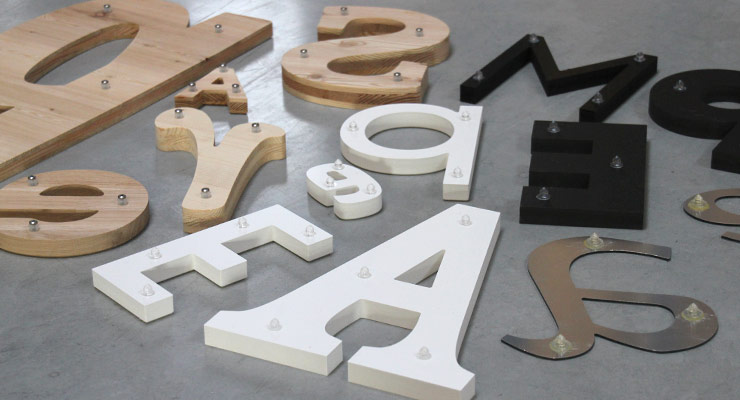
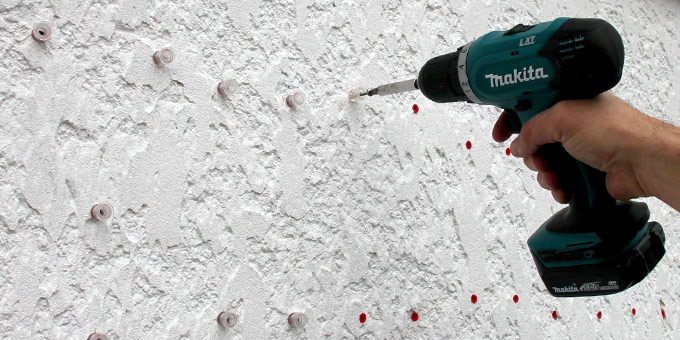
This is a mechanical fixing made by interlocking studs positioned on the back of the letters with sockets screwed onto the support (wall or panel).
The male parts are positioned and fixed by us on the back of each letter (glued for PVC or dibond letters, screwed for wooden letters). The female parts are provided in the package with stainless steel screws and a semi-rigid brown cardboard drilling template. Simply position the template on your support to mark the fixing positions, drill and screw the female sockets and finally clip the letters onto them.
This is a particularly suitable solution for outdoor signs. It is also ideal for flat surfaces where double-sided foam or gluing is not possible, or if you want your letters to be slightly spaced from their support (approximately 1.5 cm). On the other hand, the letters must be large enough to allow the fixings to be placed.
_680x340.png)
_680x340.jpg)
_680x340.png)
_680x340.jpg)
Choosing your fixing option

None
(free positioning and fixing)
Recommended if:
- You want to use your own fixing solution (screwing, gluing…) and position your letters approximately or fancifully.
- You want to use your own fixing solution (screwing, gluing…) and your project consists of only one letter or a single piece.
- You want to place your letters on a horizontal surface, such as a shelf for example. In this case, take care to anticipate the fact that some letters may not stand in balance naturally.
Positioning template
(free fixing)
Recommended if:
- You want to use your own fixing solution (screwing, gluing…) with positioning assistance to easily arrange your letters (alignment and spacing) according to the original model of your project.
Double-sided
(free positioning)
Recommended if:
- You want a ready-to-install fixing, without drilling, and position your letters freely (approximately or fancifully).
- You want a ready-to-install fixing, without drilling, and your project consists of only one letter or a single piece.
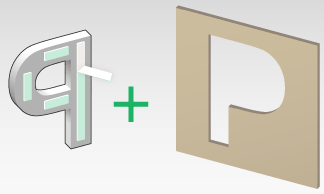
Double-sided
+ positioning template
Recommended if:
- You want a complete and quick-to-install solution, without drilling, with positioning assistance to easily arrange your letters (alignment and spacing) according to the original model of your project.
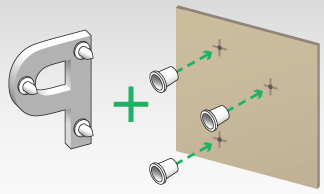
Spacers
+ drilling template
Recommended if:
- Double-sided foam or gluing are not suitable solutions for your support.
- You want a ready-to-install mechanical (clip-on) fixing with a positioning of your letters (alignment and spacing) faithful to the original model of your project.
- You want your letters to be slightly spaced from their support.
The chamfer option
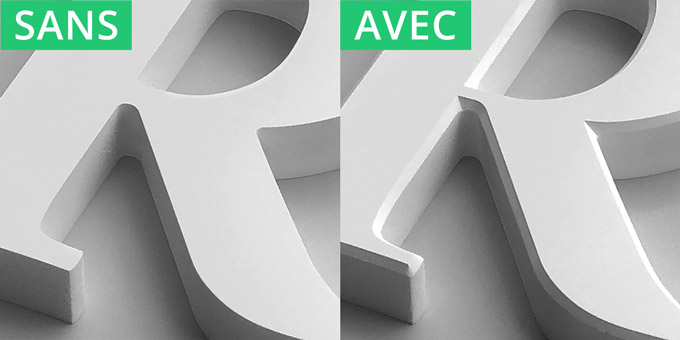
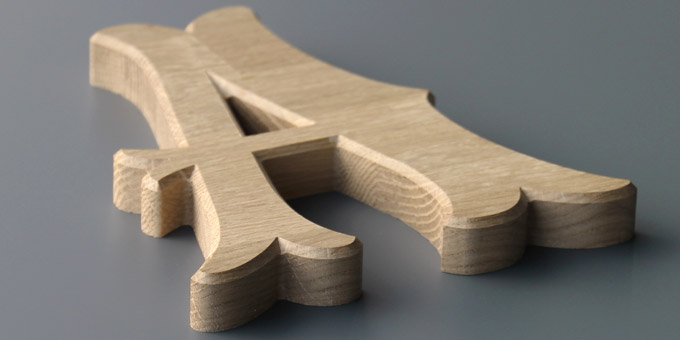
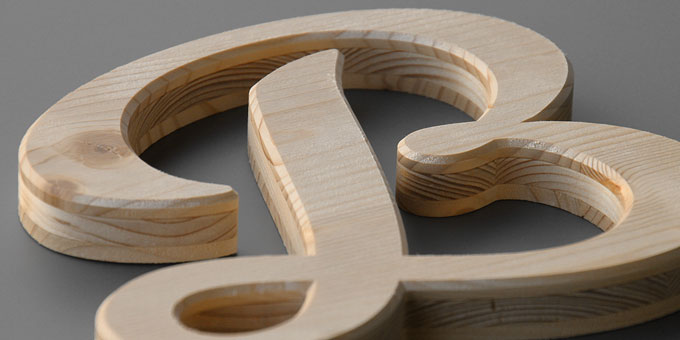
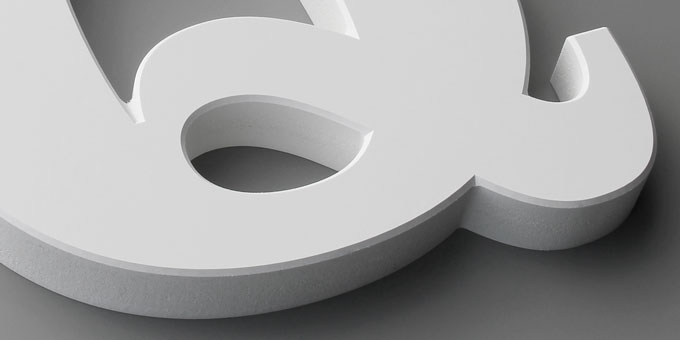
Chamfering consists of creating a small 45° bevel (chamfer) on the front edges, with a width of approximately 3 to 4 mm. We perform an adaptive chamfering called with an angle dash, which respects the original design of the letter, and is much more elegant than a classic chamfer obtained by simply contouring the cut.
This finish brings various aesthetic advantages:
- It subtly reinforces the 3D volume effect by capturing light on the edges of the letter.
- It restores the details of its original design to the letter at the level of the entering angles (which are sometimes smoothed during cutting due to the radius of the milling tool).
- It brings overall to the cut pieces a prestigious and incomparable elegance.
Note: this finish is not available for all materials or in all thicknesses (see the material table above).


